Moonraker Timelapse
What is a timelapse?
Ever seen the great looking "high speed" videos of prints on Youtube? We will guide you to be able to make your own ones!
The Moonraker Timelapse plugin, from the Mainsail Crew, is the tool to do this. Here are the steps to help you installing it and configuring your slicer to trigger photo capture at each layer change, creating smooth timelapse videos of your prints.
Note
Before starting, you obviously need a working camera installed configured in Mainsail.
Time required: ~15 minutes
Prerequisites
- A running system without errors (I recommend FreeDi - but I might be biased 😜)
- A working camera with Crowsnest configured
- SSH access to your printer
Installation
1. Install Moonraker Timelapse
Let's install Moonraker Timelapse 1 on your system!
Connect to your printer via SSH and run the following commands:
cd ~/
git clone https://github.com/mainsail-crew/moonraker-timelapse.git
cd ~/moonraker-timelapse
make install
2. Enable Auto-Updates
To keep the Timelapse plugin updated via Moonraker's update manager and activate it, add this to your moonraker.conf file in the "MACHINE" tab from Mainsail:
[update_manager timelapse]
type: git_repo
primary_branch: main
path: ~/moonraker-timelapse
origin: https://github.com/mainsail-crew/moonraker-timelapse.git
managed_services: klipper moonraker

#activate the timelapse component
[timelapse]
Hit "save & restart" to restart Moonraker and Klipper.
Configuration
1. Adding Time Lapse to your printer.cfg
- Open Mainsail and go to Machine tab
- Open the printer.cfg file
- Add this below the other [include...] lines so Klipper can load the Timelapse macros :
[include timelapse.cfg]
Hit "Save & Restart"
2. Slicer Configuration (Required!)
Tip
The time lapse plugin does NOT capture images automatically. You must configure your slicer to execute G-code commands at each layer change to trigger the camera.
To enable Timelapse capture, you need to add specific G-code commands in your slicer settings. Without this slicer configuration, no images will be captured during prints.
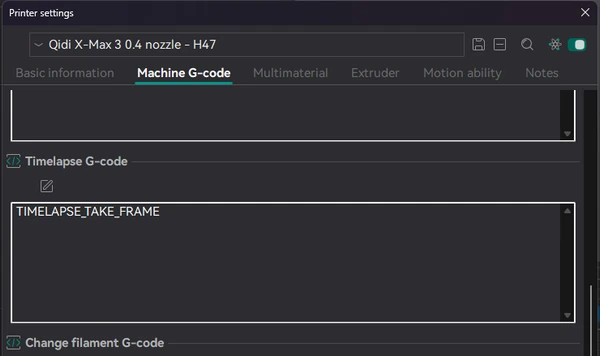
Open your Slicer and find the Printer settings / machine G-code section. You will see something like "Before layer change G-code" (the exact word varies between different slicers).
Add this in the appropriate section of your slicer:
TIMELAPSE_TAKE_FRAME
In Orcaslicer, there's a dedicated "Timelapse G-code" table for example.
Usage
Once installed and configured:
- Slice your model
- Start your print: in Mainsail, when clicking on the gcode file, you'll see the toggle to activate the Timelapse:
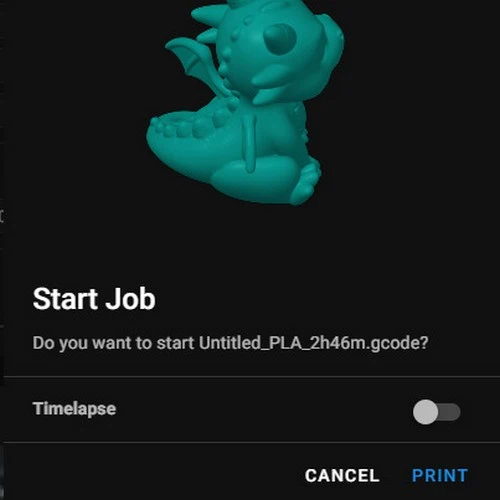
- The plugin will capture an image at each layer change, triggered by the G-code
- After the print completes, the video is automatically rendered
- Access your time lapse videos in Mainsail under the Timelapse section
Troubleshooting
No images are captured:
-
Most common issue: Layer change G-code not configured in your slicer - see Slicer configuration
-
Verify that your camera is working in Mainsail and check your crowsnest.conf file - see Crowsnest configuration
-
Review the crowsnest.log file for errors
Poor video quality:
- Increase your camera resolution in crowsnest.conf
- Adjust the video bitrate inside the timelapse settings
- Ensure proper lighting on the print bed
Advanced Configuration
OPTIONAL. For detailed configuration options,refer to the official Timelapse repository 2