FreeDi Installation
WARNING : Make sure your printer is powered off before manipulating the electronics!
STEP 1 : Flashing the Mainboard
Choosing the correct .bin file
PAY ATTENTION to copy the correct .bin file corresponding to your machine in your SD card before proceeding!
-
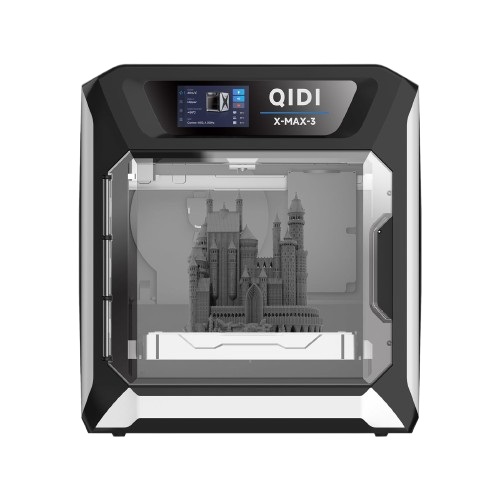
X3 Series Users need the X_4.bin file
-
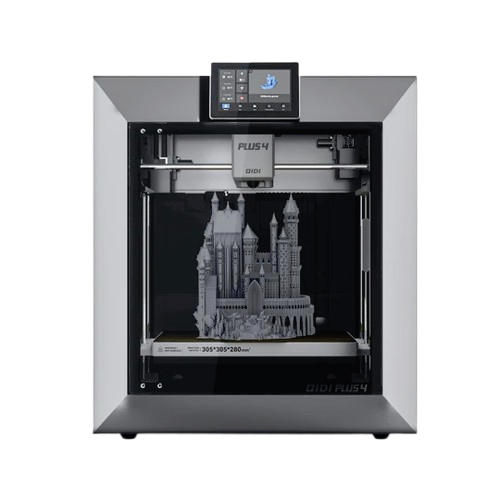
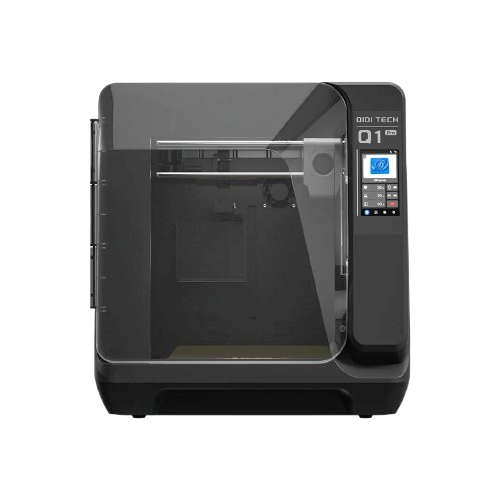
Q1 pro & Plus 4 users need the qd_mcu.bin file
-
NOTE: the confusing file names were implemented by QIDI and are beyond my control. Don't modify the name of the .bin files or flashing will not work.
Mainboard flashing steps:
- Note: Leave the printer shut off for the moment. Keep the emmc module out of the mainboard if you want to flash the mcu only first.
-
Copy the correct .bin file to the micro SD card you formatted earlier (FAT32):
- X3 Series Users: X_4.bin
- Q1 Pro and Plus4 Users: qd_mcu.bin
-
Open the maintainance cover on the backside of your printer using a screwdriver.
- Insert the microSD into the microSD card slot of the mainboard.
- Pro-tip: Leave the card in and continue with the next step. This will allow you to update the mainboard MCU without having to open the maintainance cover.
- If you prefer flashing the mcu only :
- Power on the printer → wait ~10s → power off → remove the microSD from the mainboard.
Tip
- To confirm the flash was successful, you can remove the SD card and plug it back on your PC. If the file has been renamed to X_4.CUR or qd_mcu.CUR , it's a win! You can proceed to the next step.
- if it's not, here are some guidelines (do in this order for efficiency):
- double check the filename and extension (filenames have to match exactly the ones mentioned above, and must have .bin extension)
- double check the microSD card format (must be FAT32)
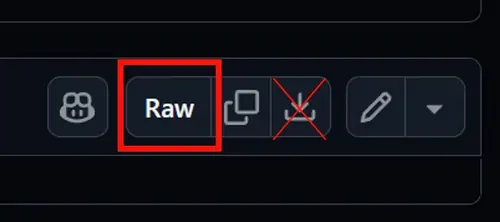
- download the latest mainboard firmware from FreeDi github repository as Raw file (Important! Really click on Raw to download it 😉)
STEP 2 : Flashing the operating system
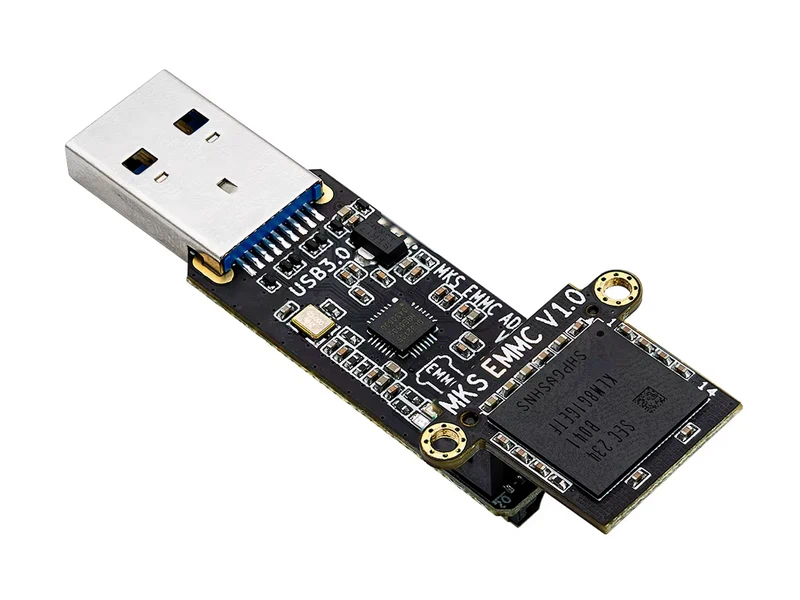
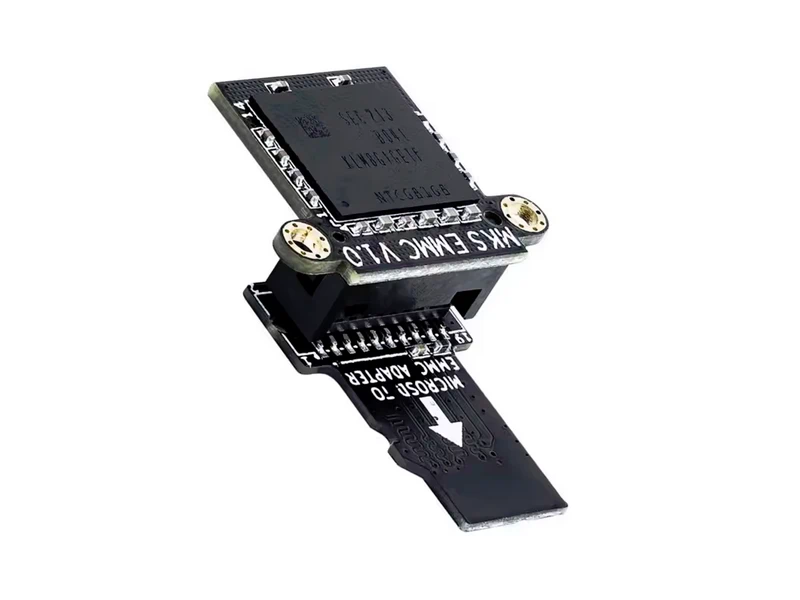
EMMC flashing steps:
- Remove the EMMC from the mainboard if it's not. (secured with 2 screws)
- Connect the EMMC to your EMMC reader.
- Flash the .img file on it with you computer, using Win32DiskImager, balenaEtcher or a similar tool.
- Put the emmc back on your printer mainboard and don't forget the 2 little screws to secure it.
Correct EMMC orientation on the adapters:
Q1 pro and Plus 4 owners
Q1 pro & Plus 4 users need an additional step to prepare their toolhead before powering the printer back ON.
Click on your printer below to proceed to the next step
X3 Series owners
If you own a QIDI from the X3 series, that's it, the hardware preparation is now done!
Click on your printer below to go to the next step and proceed to the first boot and enjoy the magic from FreeDi!
Just click on your printer below to proceed to the next step