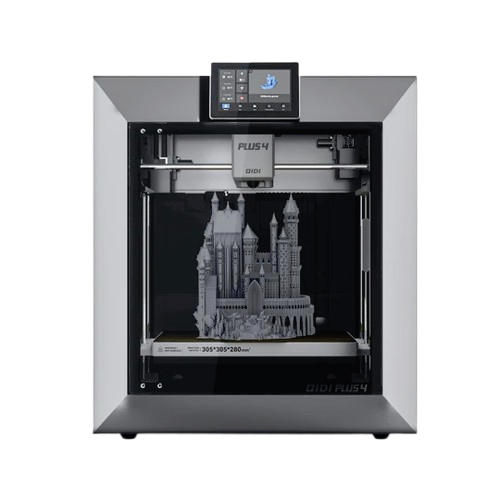
Toolhead Setup for Plus 4
Welcome to the Plus 4 toolhead preparation before the final step:
The FreeDi Wizard.
On the Plus 4 model, the toolhead needs a special connection to be able to flash the firmware to the board. But don't worry, it's quite easy!
Plus 4 required additional hardware
Danger
Make sure your printer is POWERED OFF before dealing with electronics to avoid causing a short!
STEP 1: remove the back cover from the toolhead
Remove the backcover of the toolhead by sliding it up.
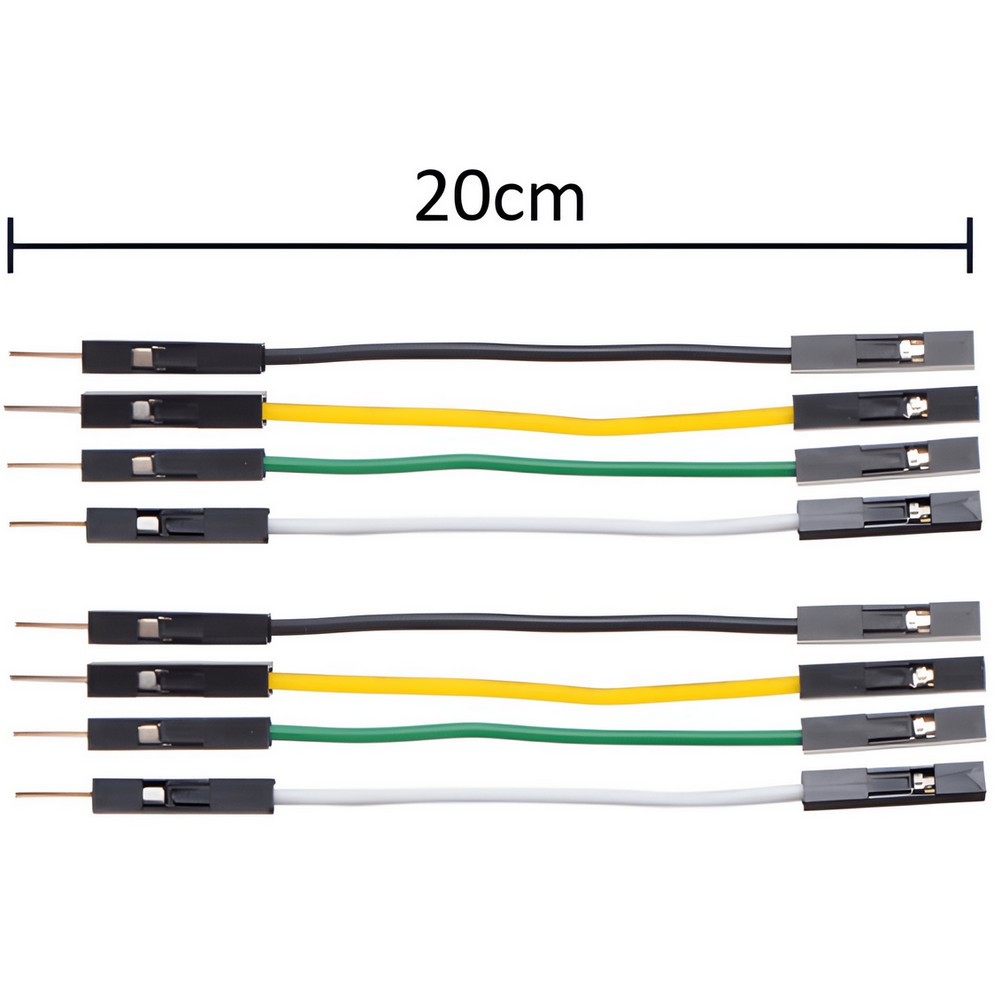
STEP 2: prepare the jumper wires
Make 4 long wires by stacking two of each jumper cables together.
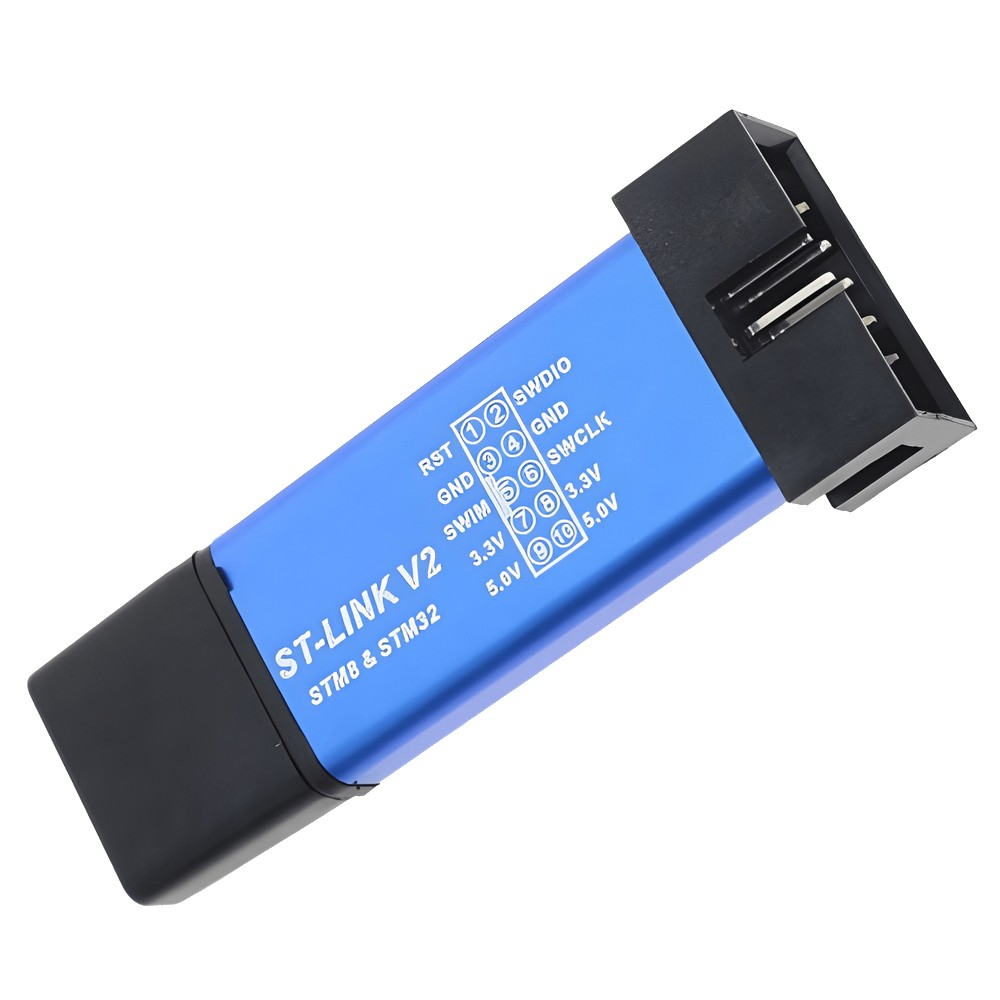
Connect them to the ST-Link V2 prgrammer as follow:
- ⚫ BLACK: on GND
- 🟢 GREEN: on SWDIO
- ⚪ WHITE: on SWCLK
- 🟡 YELLOW: on RST
Example connections for the ST-Link V2
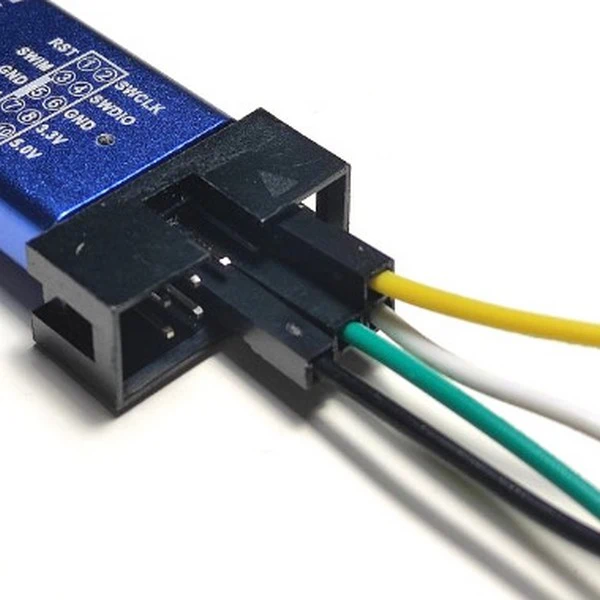
ATTENTION : The pin positions on a ST-Link V2 can vary! Please make sure that the colors match with the list above!
STEP 3: Plug the wires on the toolhead board
Locate the serial pins on your toolhead board and carefully bend other cables away if needed:
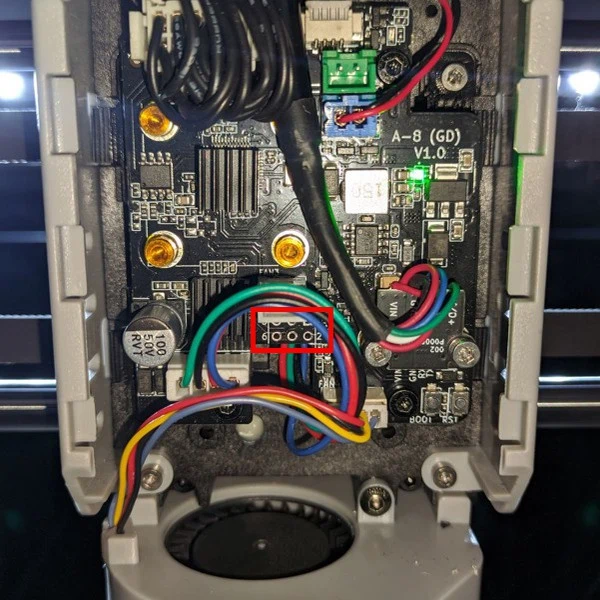
Plug the wires on the board pins:
| Pin 5: 🟡 Yellow->RST | Pin 3: ⚪ White->SWCLK | Pin 1: 🟢 Green->SWDIO |
|---|---|---|
| Pin 6: ⚫ Black->GND | Pin 4: empty | Pin 2: empty |

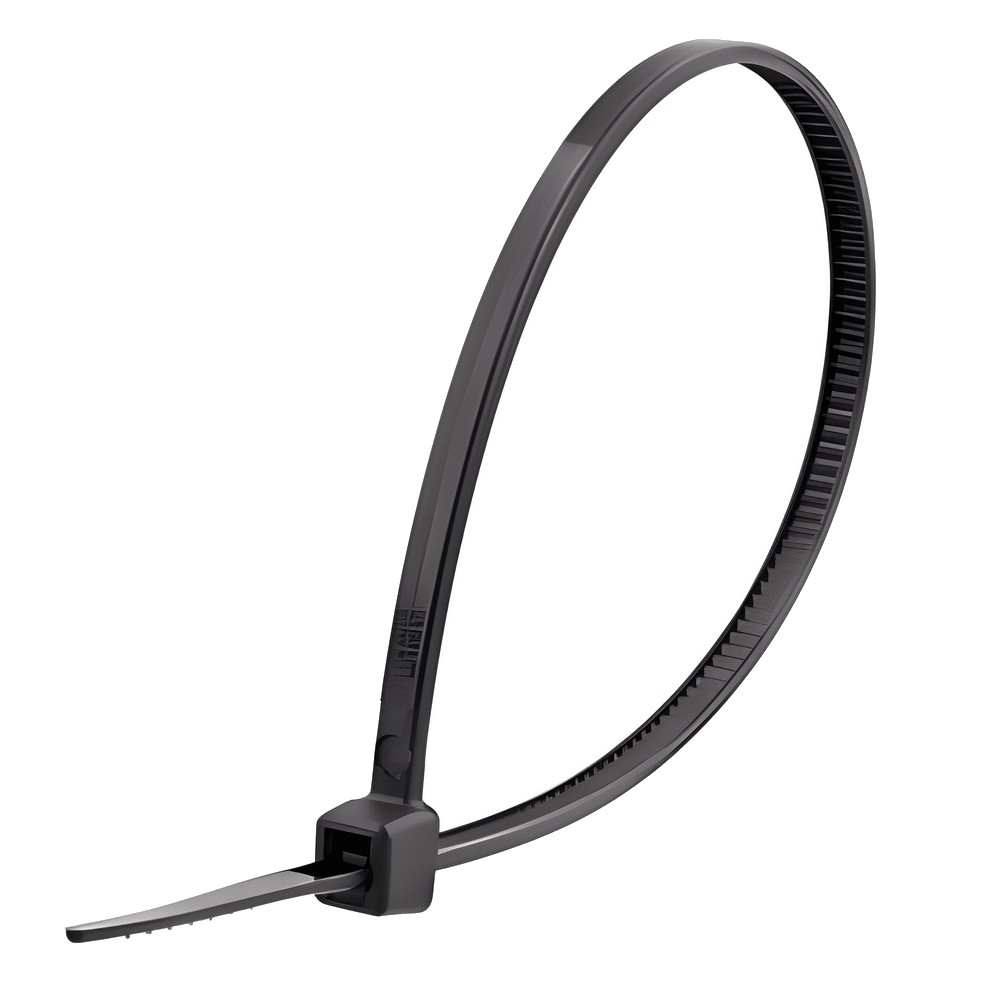
STEP 4: Secure the wires
Since the cables are currently only loosely connected, take the cable tie and attach them to the side of the toolhead housing with slight tension.
This will ensure the wires dont come loose and tilt them a bit, to make a good contact between the wire pins and the toolhead board.
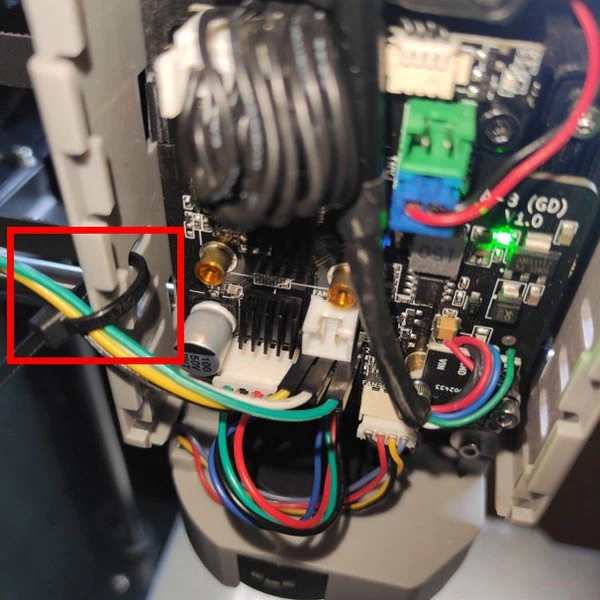
Warning
Make sure that each individual cable is under "slight" tension.
This way you have a temporary secured connection to the toolhead board.
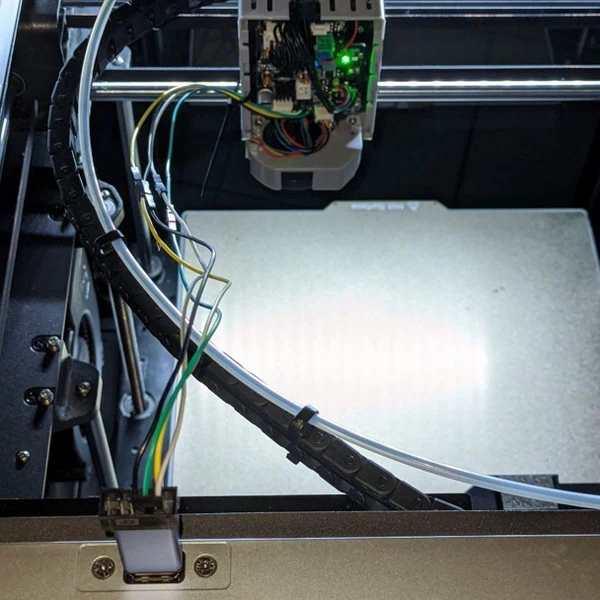
Here is an example of what your setup should look like in the next step:
- Please attach your wires accordingly and double check that they match the above configuration!
- Then you can go to the next section of this guide to "Meet the Wizard 🧙♂️"
WARNING BEFORE THE NEXT STEP OF THE GUIDE:
- Make sure your ST-Link V2 is not connected to the printer USB port before your first boot!
-> if the ST-Link is connected, it wont boot!
- Remember for the next step to wait ~30 seconds, to let the system finish its booting sequence and only then plug the ST-Link V2 to the top USB port.
- That's it! Your toolhead is now prepared for the Wizard!