Preparation
This is the officially recommended and always up-to-date way to install FreeDi on your printer.
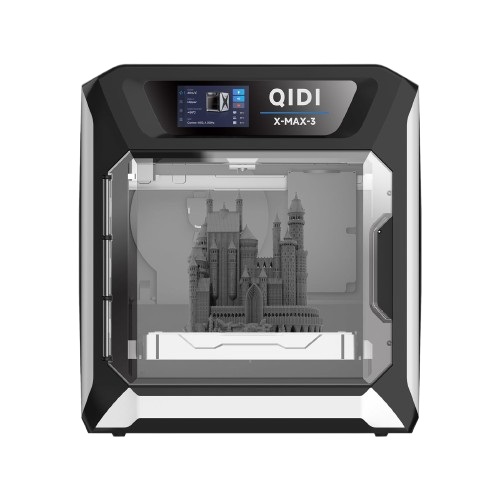
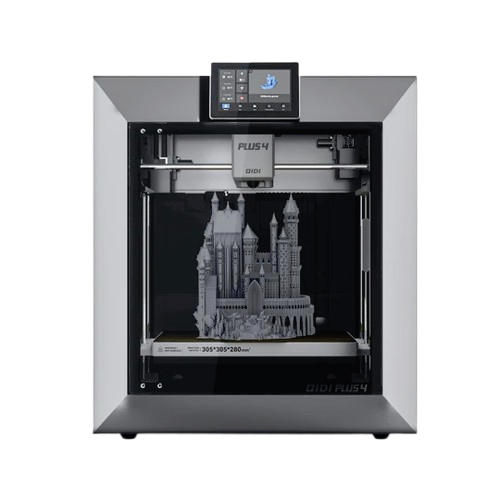
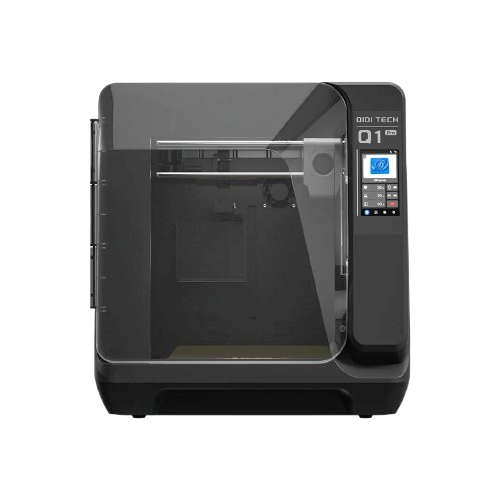
Supported printers:


Introduction
So you own a QIDI printer and want to unleash it from stock limitations? You want to get the full potential out of your printer? You are in the right place! Enjoy the magic of FreeDi ! ✨
FreeDi v2 makes the installation process easier than ever! 🔥
This is a beginners friendly step-by-step guide, so please grab a coffee (you can buy me one too ☕ here if you want to support me & the project).
Info
To enjoy the FreeDi experience and get your printer up and running at its best, please take your time, read this guide and proceed carefully step by step.
Downloading the necessary files
Go to the releases section and download a full image .
You can recognize a "full" image release as there's a (software and image) mention on top of the table.

Find a .zip file named : "FreeDi v2.xx_xx_xx_xx.zip" attached at the bottom of the release in the "assets" section. This is a full flashable image file for your EMMC (storage card) with the complete FreeDi Operating System. Some software only update releases don't have this file.
Just scroll down to the Assets and download the latest full image.
Example here : FreeDi_v2.08_24.11.1_6.6.62.zip.
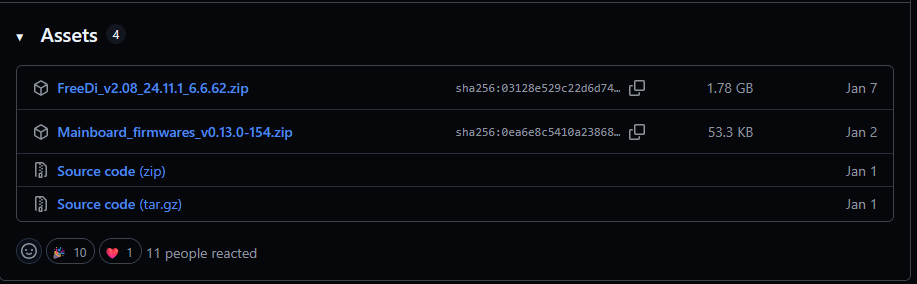
While you at it, please also download the mainboard firmware files named : Mainboard_firmwares_vx.xx.x-xxx.zip. This will include the files needed to flash your printer's mainboard.
Extract the .zip archives.
You will receive the following files:
- a flashable OS .img file for your EMMC
- a klipper MCU firmware file named qd_mcu.bin
- a klipper MCU firmware file named X_4.bin
What’s inside the pre-built image?
- Armbian: Bookworm base (v25.02 or newer)
- Klipper Ecosystem: v0.13.0+
- Moonraker: version 0.9.3+
- Mainsail: version 2.14+
- KIAUH: v6.0+
- Katapult & st-flash: latest stable at build time
- FreeDi: v2.08+ (custom display firmware: v2.08+)
- Crowsnest: v4.1+ (stock camera profiles pre-installed)
- Wi-Fi: integrated stock Wi-Fi dongles drivers
- Extras: custom crafted klipper configurations for all supported printers
Updates & Maintenance
The pre-built image comes with a fully pre-configured klipper stack. While we ship with stable defaults, you can update all components (Klipper, Moonraker, Mainsail, etc.) to the latest release with a single click via the dashboard (OTA).
Full disclosure: By the time you’re reading this, the versions listed above are likely outdated. Instead of updating this documentation for every minor release, I’d rather spend my time improving the actual code and features. Just hit me with a note if you find any issues ;)
No “klippain shaketune” or other extras - keeping it clean and lean!
Footprint
After flashing, the OS uses ≈ 4.3 GB of a 8 GB EMMC, leaving ~ 2.6 GB free.
Have a 32 GB EMMC ? Don't worry you can expand the file-system and enjoy ≈ 27.7 GB head-room.
For comparison: On my stock X-Max3 I only had ~500 MB left to install addons and gcode files!