Enable Wi-Fi
After installing FreeDi, the Wi-Fi dongle may not be enabled by default.
This is because there are different wifi dongles used with this printer series, and QIDI likely pre-installs them. Since I do not have this option, the driver for the specific wifi dongle must be installed manually, followed by switching the device from "mass storage mode" to Wi-Fi operational mode using usb_modeswitch, along with other necessary adjustments.
To simplify this process, I have created an installation script that automates all the necessary steps.
Steps to activate wifi
-
Run the Installation Script:
To start the process, open the terminal and enter:
cd ~/FreeDi && ./install.sh -
Choose the Correct Mainboard:
- Initially, you will be asked if you have an original QIDI mainboard.
This is a safety mechanism for users who may have installed a different mainboard, as the script could overwrite certain settings. - If you have a QIDI mainboard (99% of you), type Y (yes).
- Initially, you will be asked if you have an original QIDI mainboard.
-
Enter the User Password:
- After selecting your mainboard, you will need to enter the password for the user (default: makerbase).
-
Wi-Fi Dongle Setup:
- Once the script completes, your Wi-Fi dongle will be activated and configured.
-
Connect to Wi-Fi:
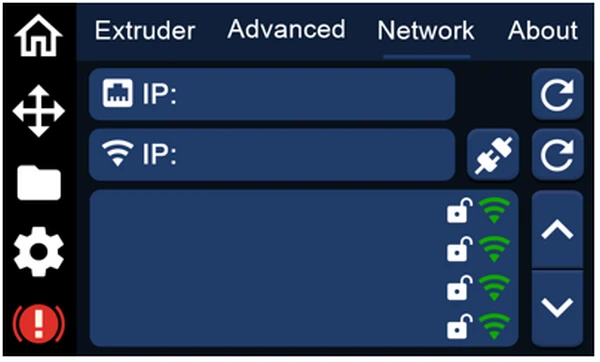
- Go to "Gear Icon" -> Network
You can now view the list of available Wi-Fi networks on the display and connect to your preferred network.
- Go to "Gear Icon" -> Network
Success
By following these steps, your Wi-Fi dongle will be enabled, allowing you to connect to your network and access the printer remotely.