Meet the Wizard
The operating system, mainboard MCU and screen are all set up. Next, we need to install and configure klipper, flash the toolhead, and dial everything in. Luckily, my Wizard buddy is here to do the heavy lifting for you.

It will guide you through:
- Screen UI Language selection
- Printer model selection
- Printer model installation - installing klipper configs & macros I created for your printer
- Setting the toolhead ID - inserting your toolhead ID for you like magic
- Showing your ethernet IP address if connected
- Wifi connection - all stock wifi modules are already preinstalled and work out of the box
- Showing your connection status and providing QR-Codes for quick access via your phone
- Guiding you to flash the toolhead (some models with the katapult bootloader) and klipper.
- Installing the prepared calilbration gcodes for your printer model
- Installing a matching theme
The whole operating system with all the required softwares will now be installed on your printer ✨
Info
- If anything looks fishy (e.g., it claims you own a Q1 Pro but you’re staring at an X-Smart 3), stop and ask the community!
- Hardware malfunction can happen, and proceeding anyway will not heal anything!
REMINDER for Plus 4 owners:
- Make sure your ST-Link V2 is not connected to the printer USB port before your first boot!
-> if the ST-Link is connected, it wont boot!
- Remember to wait ~30 seconds, to let the system finish its booting sequence and only then plug the ST-Link V2 to the top USB port.
Getting started
Now you can switch your printer ON and enjoy some magic
First Boot
When the system boots, it will start the FreeDi ecosystem. This will detect your display model and the installed firmware. By doing so, it will identify that the firmware is not suitable and automatically flash it with my latest screen firmware that matches your model. From now on, the screen will be updated automatically over the air (OAT).
This normally takes about 2 to 4 minutes to complete. (which is a way faster than QIDIs 30-40min updates!)
Stuck screen flashing process? If the counter stops...
It can happen that the screen flashing process gets stuck. If you dont see the bytes counting up for more than a few seconds, you can consider it as freezed.
This problem is known and is likely caused by the weak hardware (a serial overload) during the flash process.
In this case, please simply switch off the printer and switch it on again. It sometimes can need multiple attempts
frozen Boot screen
After the display firmware is being installed, it can happen that the "boot bar" finishes, but nothing happens.
Don't worry! The screen might be in a "blocked status" after flashing it. If that is the case, please power cycle your printer.
When the display flashing is finished, FreeDi will boot:

Language selection

Note: Language selection for the screen UI only, it doesn't change Mainsail's language.
Wizard screen

This screen tells you that the screen model was detected and the matching firmware has been flashed.
Note and the abort button
About the abort button
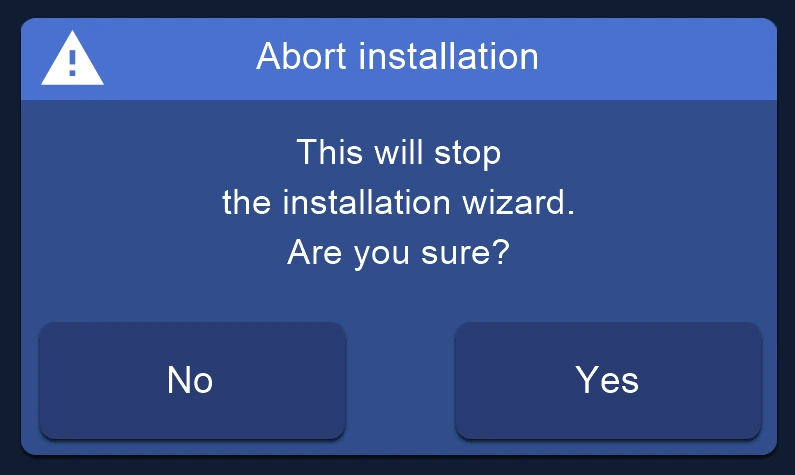
You can use the ABORT button at any time. It will abort the wizard.
BE AWARE that no further settings will be saved. This can lead in a "half-baked printer". It is highly recommended to finish the wizard on a fresh printer.
Printer model selection
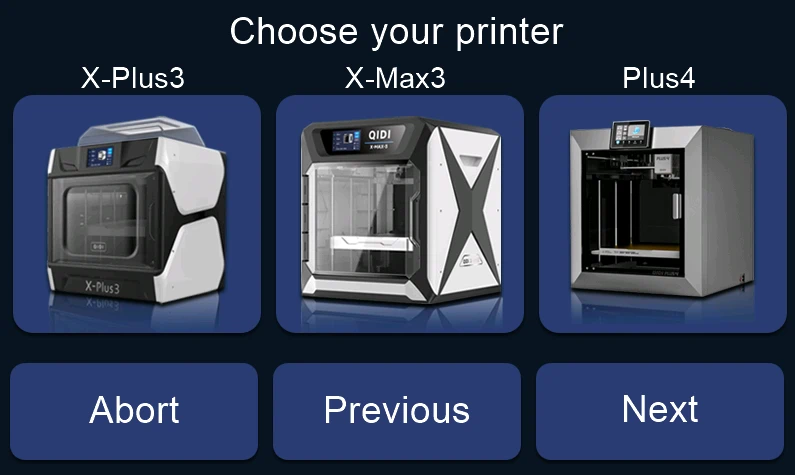
This is the printer model selection page. Not every supported printer will be listed here. You will only see the ones that might be matching regarding the detected hardware.
Printer model setup
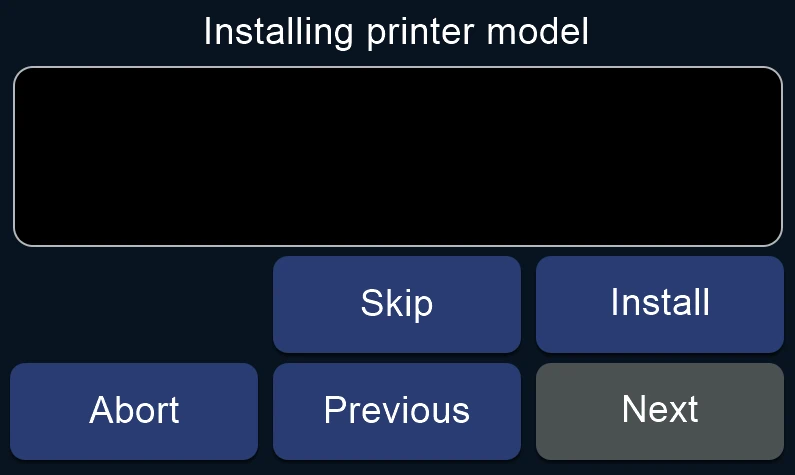
This will install and configure klipper and more according to the selected printer:
-
the printer klipper config and macros
-
the correct mainsail theme for the selected printer
-
the printer-specific z-offset calibration Gcode file
Warning
Caution: When pressing "Install", the printer config and macros on your printer will be replaced! Make sure to have a backup of your configuration if you ever use the wizard in the future, as every custom changes will be lost.
Toolhead ID setup
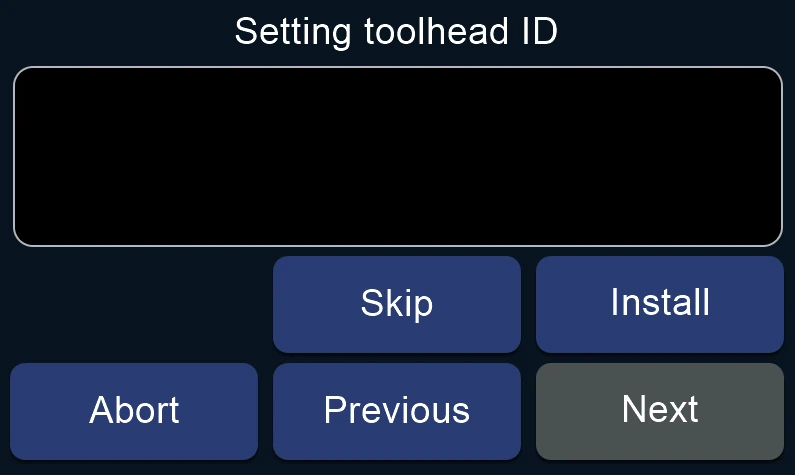
This will detect the toolhead and set the ID in the printer.cfg file.
Ethernet connection status
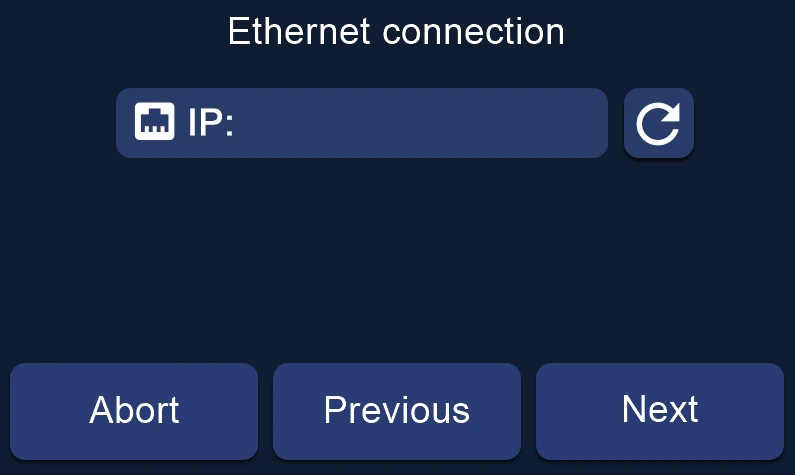
If available, it will show the IP of the active ethernet connection.
Wi-Fi drivers setup
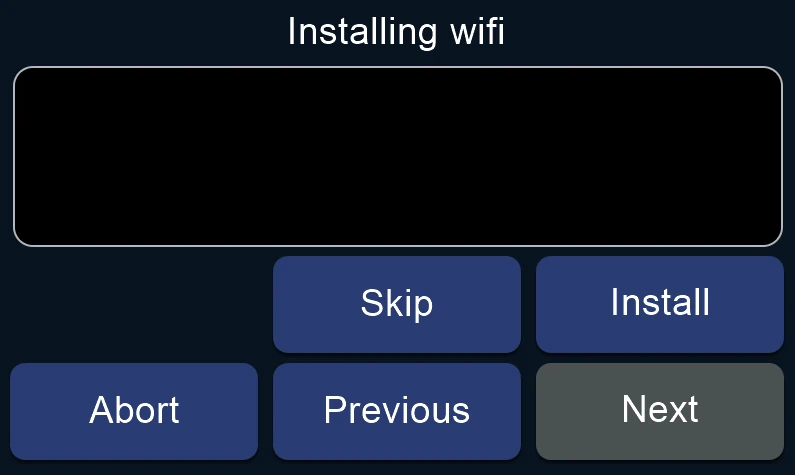
This will check for the connected wifi modules and install their drivers.
Only the stock QIDI modules are officially supported and tested.
Some 3rd party modules will work out of the box, but as the variety of modules is high and driver install is always a thing on linux, no guarantee for other modules.
Wi-Fi connection
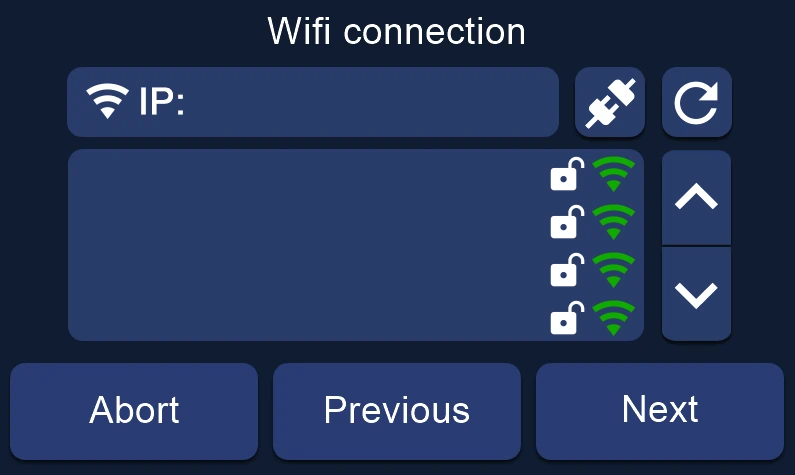
This screen shows the current wifi IP if connected. Below is the list of available SSIDs detected. Next to the IP is a disconnect icon and a refresh icon.
You can connect now or later if you want. Just select your SSID (wifi name) and you will be forwarded to the on-screen keyboard.
Wi-Fi credentials
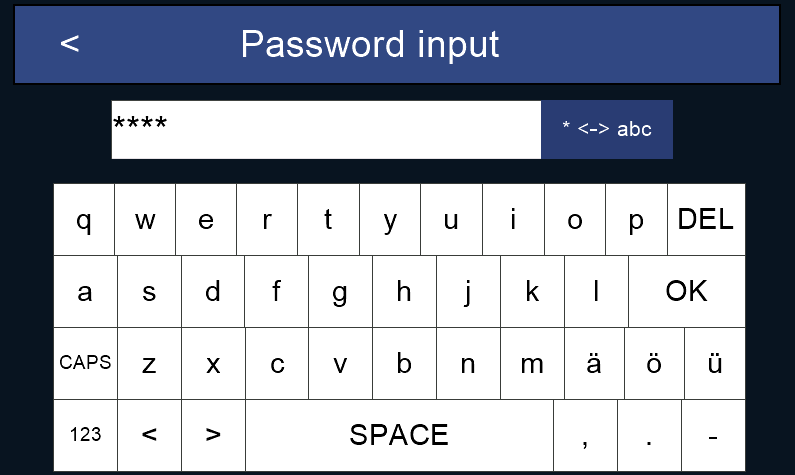
When you select your SSID name, the on-screen keyboard will pop-up.
-
the <-> abc button switches from hidden to clear text mode (useful to see what you're typing).
-
CAPS and 123 will switch between different keyboards for uppercase, special characters, digits etc.
-
once you click OK the Wi-Fi will attempt to connect to your network.
Internet connection status
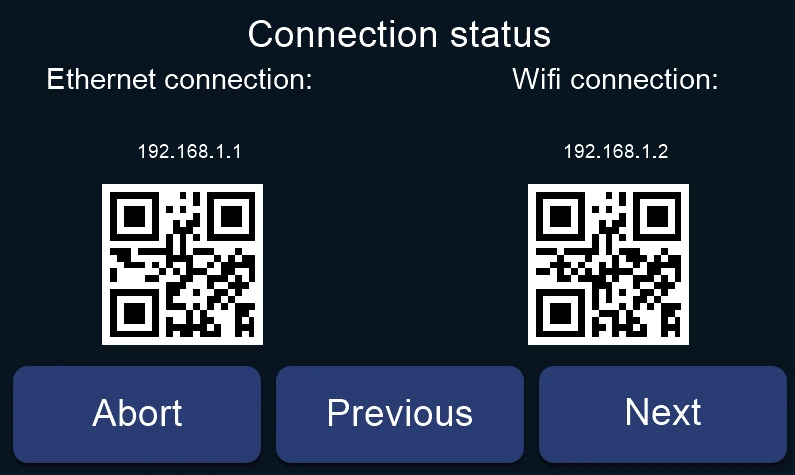
After the wifi connection, there will be a summary with the network status, the IP addresses and a QR Code to directly connect using your smartphone.
Info
Important: The IP address will likely change compared to the one from your stock system.
Reason: This is a complete new operating system and will be detected as a new device by the router/DNS server. Make sure to update existing bookmarks and the slicer connection later.
Flashing the Toolhead board

This screen will provide information about the klipper flashing process.
As the screen is limited in space, the QR code will forward you to the following notes:
X3 series
X3 series:
The wizard will fully install the latest klipper version to your toolhead automatically.
Just follow the on-screen wizard and click "Install" to make this magician do the work for you!
If you have trouble or find bugs, please get in touch with others on Discord or open an issue on GitHub: Support
Q1 pro
IMPORTANT WARNING for Q1 pro owners:
- Before proceeding to the next step, make sure you prepared your toolhead as recommended in the preparation page! The Q1 toolhead needs to be connected with the USB breakout cable. See: Q1 pro toolhead
If you missed this step, it is recommended to shut off the printer to not risk a short and do it now. When powering the printer ON afterwards, the wizard will welcome you again.
When you're back in the Wizard, you don't need to do all the steps again: You can skip the steps that are already done till this page, by using the SKIP then NEXT buttons.
Q1 pro Katapult preparation:
This page will provide helpful information to prepare for the toolhead update process.
By following the wizard, you will be flashing the toolhead to the new klipper firmware version. This is an essential step to ensure compatibility with the new klipper version that FreeDi uses.
Make sure that you have attached the USB breakout cable to your printer's USB port and the toolhead.
Once you have completed this, proceed with the next 2 steps:
Step #1: Flashing the katapult bootloader
This step is fully automatic. The wizard will wipe your toolhead partition first to make sure there are no klipper leftovers on your board. Then it will flash a precompiled katapult bootloader that FreeDi provides. With this bootloader, you will not need to use the USB breakout cable for future klipper updates.
Just click the "Install" button in the on-screen wizard, and it will do this for you. If anything goes wrong, the wizard will report this back.
Step #2: Flashing the klipper bootloader
The second step is semi-automatic.
Locate the boot and the reset button on your toolhead.
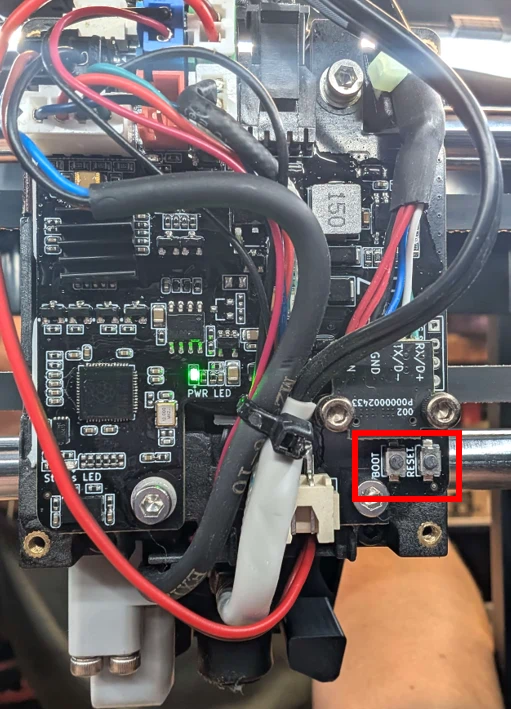
It might look different for your toolhead, as different revisions have been installed in the machines.
Press and hold the "boot" button (with something not conductive - a screwdriver is not good. Better use your fingers or a plastic/wooden piece).
Press and release the "reset" button.
Release the "boot" button.
This process will request katapult (the bootloader we have just installed) to go into boot mode. In this mode, it is possible to install klipper. Just click the "Install" button in the on-screen wizard to do this for you. If anything goes wrong, the wizard will report this back.
If you have trouble or find bugs, please get in touch with others on Discord or open an issue on GitHub: Support
Plus 4
IMPORTANT WARNING for Plus 4 owners:
- Before proceeding to the next step, make sure you prepared your toolhead as recommended in the preparation page! The Plus 4 toolhead needs to be connected with the the ST-Link v2 cables. See: Plus 4 toolhead
If you missed this step, it is recommended to shut off the printer to not risk a short and do it now. When powering the printer ON afterwards, the wizard will welcome you again. Re-Reminder: Don't forget that the ST-Link v2 shold not be connected when turning on as this will prevent the printer from booting.
When you're back in the Wizard, you don't need to do all the steps again: you can skip the steps that are already done till this page, by using the SKIP then NEXT buttons.
Plus 4 Katapult preparation:
This page will provide helpful information to prepare for the toolhead update process.
By following the wizard, you will be flashing the toolhead to the new klipper firmware version. This is an essential step to ensure compatibility with the new klipper version that FreeDi uses.
Make sure that you have attached the ST-Link V2 your printer's USB port and the toolhead.
Once you have completed this, proceed with the next 2 steps:
Step #1: Flashing the katapult bootloader
This step is fully automatic. The wizard will flash a precompiled katapult bootloader that FreeDi provides. With this bootloader, you will not need to use the ST-Link V2 for future klipper updates.
Just click the "Install" button in the on-screen wizard, and it will do this for you. If anything goes wrong, the wizard will report this back.
Step #2: Flashing the klipper bootloader
The second step is semi-automatic.
Locate the the reset button on your toolhead.
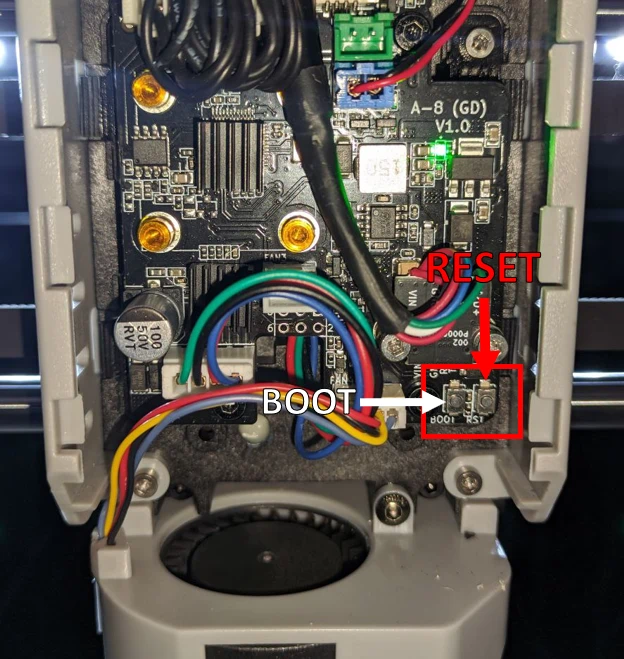
It might look different for your toolhead, as different revisions have been installed in the machines.
Double tap the "reset" button (with something not conductive - a screwdriver is not good. Better use your fingers or a plastic/wooden piece).
This process will request katapult (the bootloader we have just installed) to go into boot mode. In this mode, it is possible to install klipper. Just click the "Install" button in the on-screen wizard to do this for you. If anything goes wrong, the wizard will report this back.
If you have trouble or find bugs, please get in touch with others on Discord or open an issue on GitHub: Support
Flashing toolhead with Katapult
NOTE for 3 series owners:
-
Smart3, Plus3 & Max3 users won't see this screen, as it is not needed.
-
Q1 pro & Plus 4 owners only will get this step to flash the katapult bootloader.
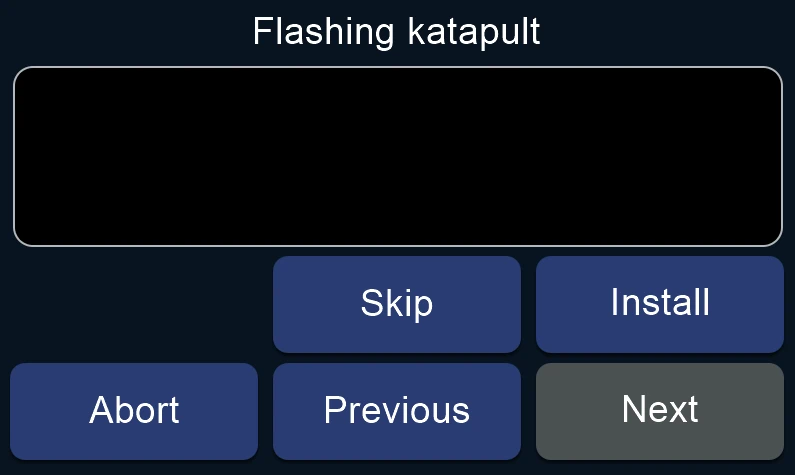
Katapult is a bootloader that simplifies toolhead flashing. It removes the need to connect a USB breakout or ST-Link v2 to update Klipper later. Isn't this a great thing? ☺️
Flashing toolhead with Klipper
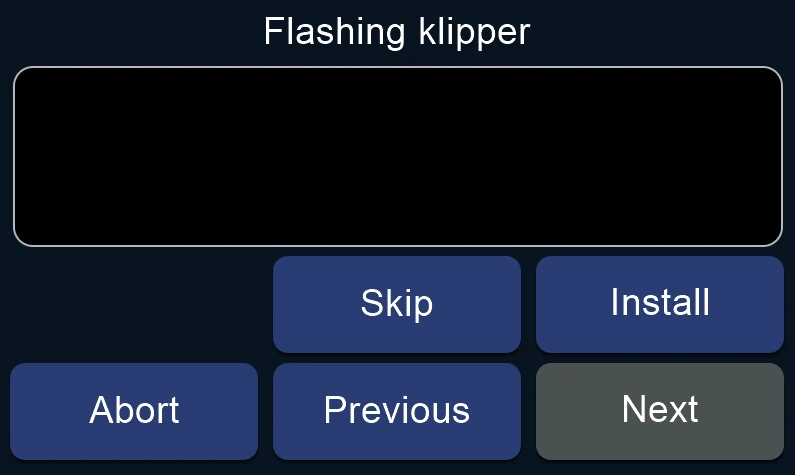
This will actually install the matching klipper version to the toolhead mcu (the microscontroller on the toolhead board).
Installation completed
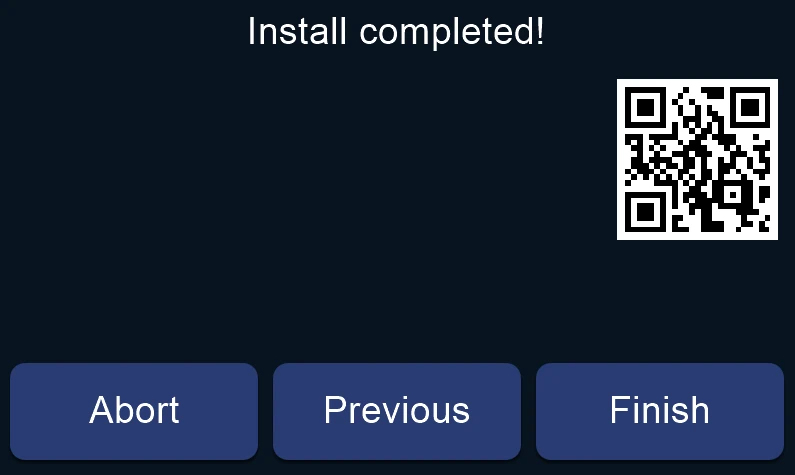
This is the final message indicating that everything was set up correctly. If you press the FINISH button, the settings for your printer model will be applied to the freedi.cfg. This ensures that the screen firmware will be taken care of by FreeDi from now on and you will not see the wizard on your next boot.
Enjoying FreeDi? You can visit the support page by scanning the QR code. Every coffee you tip is pure fuel for the next big update! Thanks for keeping this alive! 😉
Now, go and press that FINISH button!
Boot screen
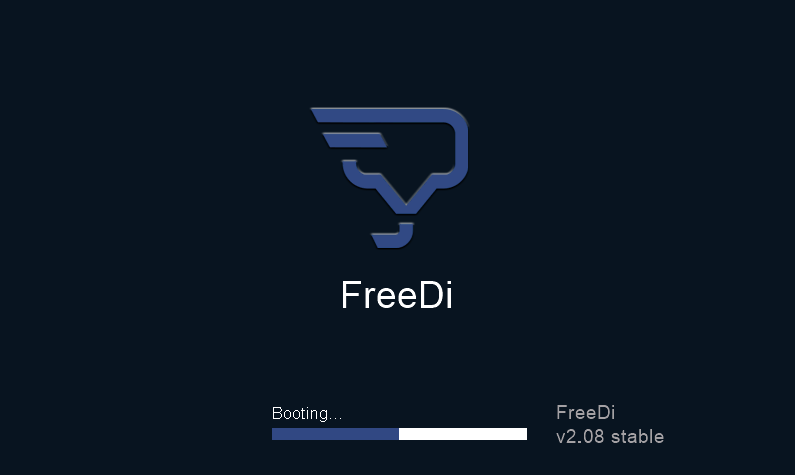
This is the FreeDi boot screen that will appear everytime you power on your printer.
The Wizard cast his spell ✨
Let it finish, then power-cycle.
After the Wizard is completed, the screen will forward you to the main menu.
I recommend shutting the printer down via Settings (gear icon) → Advanced → Shutdown Printer. By the way, I recommend doing it always that way to safely shut down the operating system.
Then turn off the printer.
If you want, you can remove the micro-SD card and check it on your PC to confirm that X_4.bin or qd_mcu.bin has been renamed to *.CUR.
However, I recommend placing the card back in the mainboard slot if you don't need it elsewhere. This allows you to flash your MCU with the latest Klipper versions in the future without ever having to open the back cover again. See the Updating FreeDi guide for more information.
REMINDER for Plus4 & Q1 owners:
- When you finish the wizard installation, before launching any movement or homing, dont forget to:
- remove the ziptie
- remove the ST-Link V2 or USB breakout from the printer
- reattach the toolhead cover back
Now you can put the printer's cover back on and that's it! You can enjoy your "unleashed" QIDI printer!

Final words
Now that FreeDi is completely installed on your printer, I highly recommend you to follow the calibration guide that will help you setting up your printer correctly. It will help you level the bed, calibrate the z-offset and do all the important tasks that you should do for the best printing results and the best user experience.
Enjoying FreeDi? Please visit the support page page if you want to support the project.
Happy printing!