Orca Slicer
Configuring OrcaSlicer for optimal FreeDi integration: FreeDi-specific tweaks, improved thumbnail generation, network upload etc..
OrcaSlicer Setup
Install Orcaslicer from the official Orcaslicer repository, then let's start to set it up.
Warning
Be careful as there are non official Orcaslicer websites that are scams! Always download from the original Github repository or orcaslicer.com!
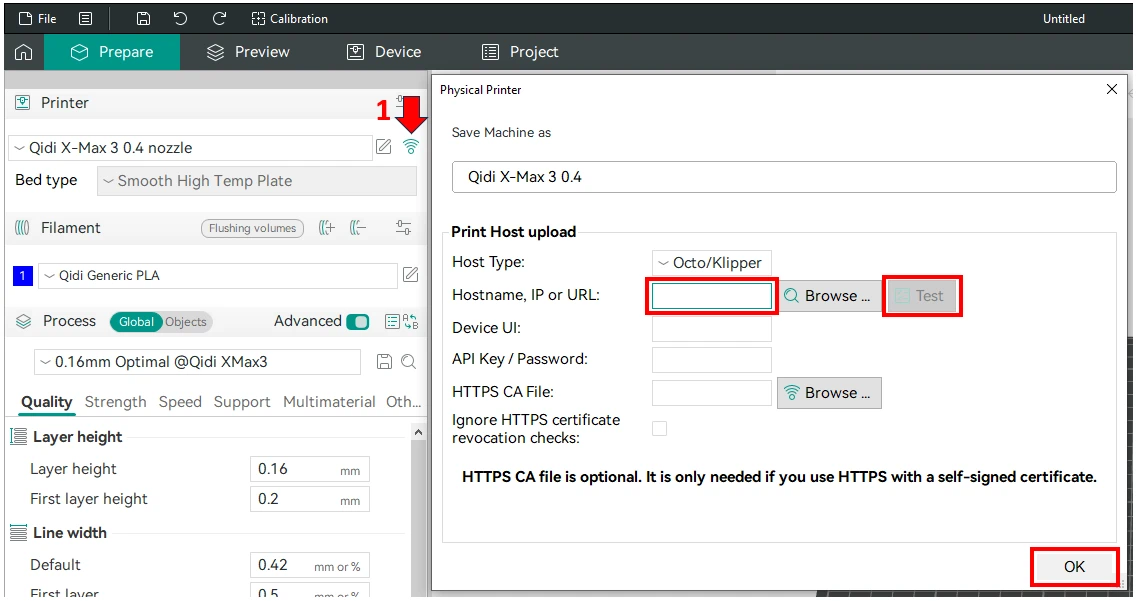
printer connection:
Open the Connection tab: Enter your IP, click Test and confim with OK.
Improving thumbnail quality
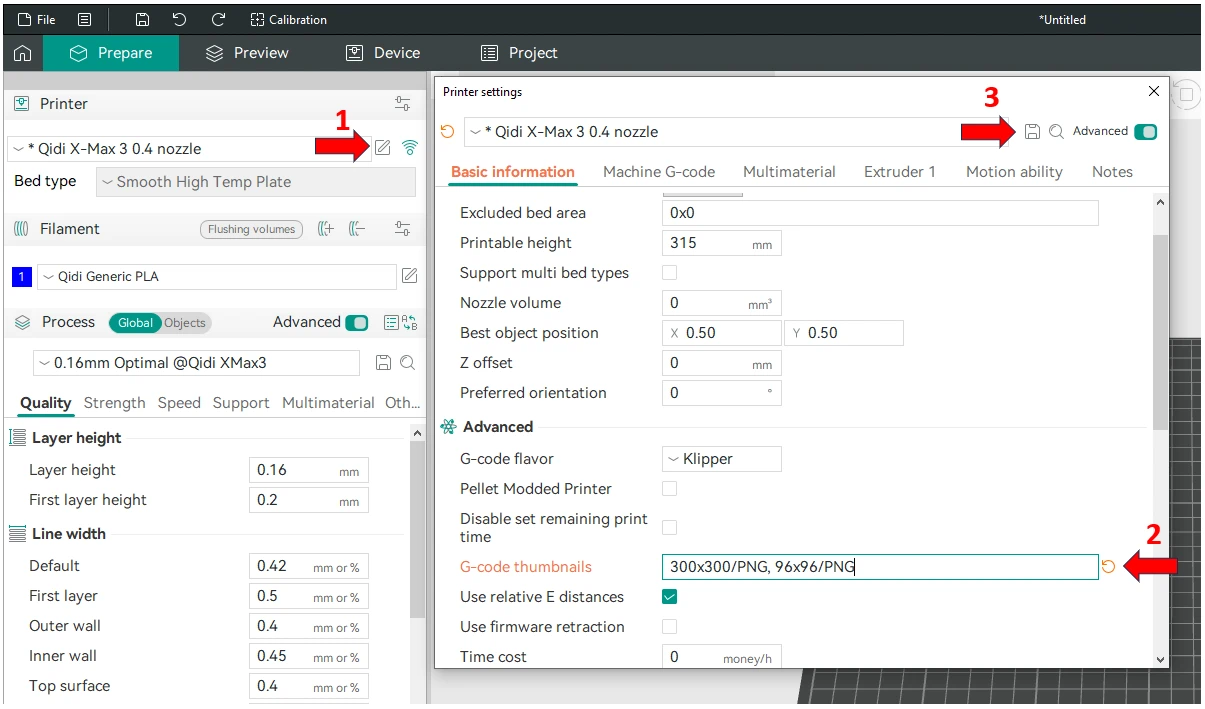
Still in the printer settings, you can change the thumbnails resolution according to your machine:
X-Smart 3
Thumbnails sizes:
150x150/PNG, 48x48/PNG
X-Plus 3
Thumbnails sizes:
300x300/PNG, 96x96/PNG
X-Max 3
Thumbnails sizes:
300x300/PNG, 96x96/PNG
Q1 Pro
Thumbnails sizes:
150x150/PNG, 48x48/PNG
Plus 4
Thumbnails sizes:
300x300/PNG, 96x96/PNG
Machine G-code
In this tab, delete and replace the stock Orcaslicer commands in the relevant sections with the lines below :
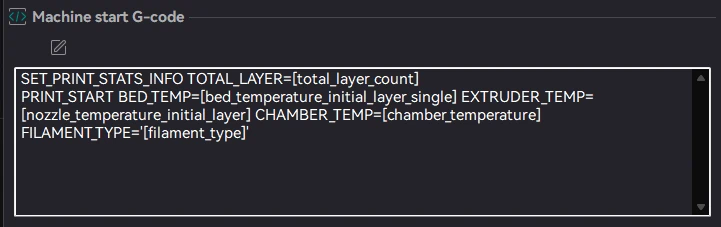
Start G-code
SET_PRINT_STATS_INFO TOTAL_LAYER=[total_layer_count]
PRINT_START BED_TEMP=[bed_temperature_initial_layer_single] EXTRUDER_TEMP=[nozzle_temperature_initial_layer] CHAMBER_TEMP=[chamber_temperature]
End G-code
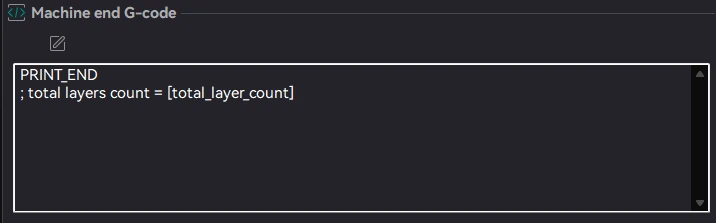
PRINT_END
; total layers count = [total_layer_count]
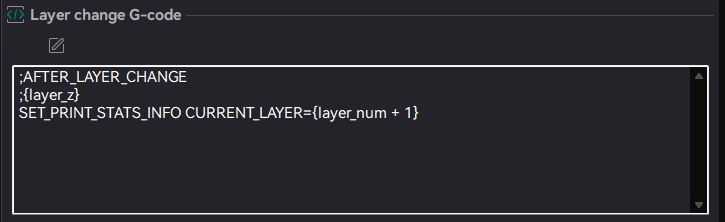
Layer change G-code
SET_PRINT_STATS_INFO CURRENT_LAYER={layer_num + 1}
Warning
- Don't forget to save your profile !
- only works with FreeDi v2.00 and higher
Bonus
With these Machine Gcode lines, you will be able to see the current layer being printed, and the total number of layers remaining for your print to finish!
More infos in the Official OrcaSlicer Documentation