Manual Bed Leveling
Manual bed leveling is the foundation for reliable, high-quality prints and highly recommended.
Quick Context:
This guide covers manual bed leveling (adjusting screws to make the bed parallel). We create a bed mesh before leveling to measure how tilted the bed is, not to compensate for it. Bed meshing happens automatically during prints after you've leveled manually.
Why Bed Leveling is Important
Out of the box, the print bed is often not perfectly level. An uneven bed can lead to poor and unreliable print results. If your bed is significantly tilted, this step is crucial to ensure high-quality and consistent prints.
Steps to Level the Bed
Measure the Bed and Calculate Screw Adjustments
To calculate the necessary adjustments for manual bed leveling, follow these steps:
Make sure you have the print bed attached!
- (Optional) Do a bed mesh for a nice before and after comparison:
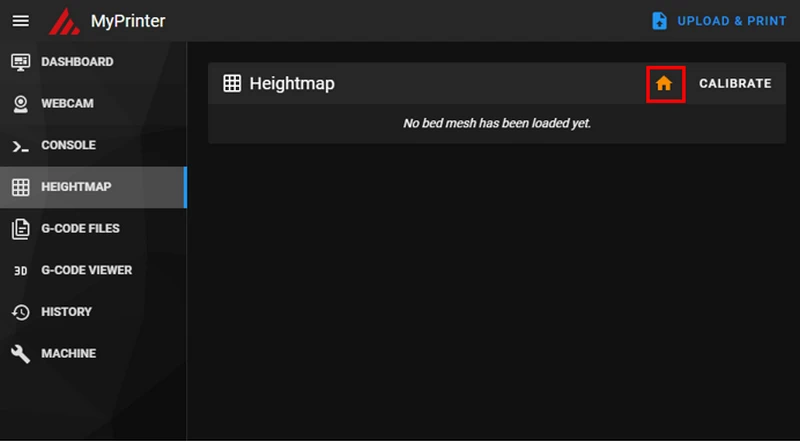
Go to the Heightmap section and Home your printer:
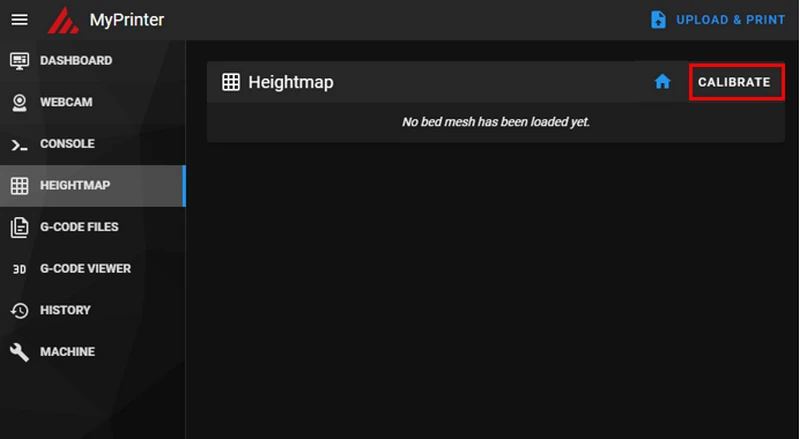
Start the meshing:
Give it a name (eg "before_leveling"):
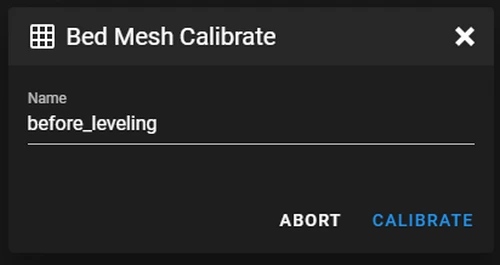
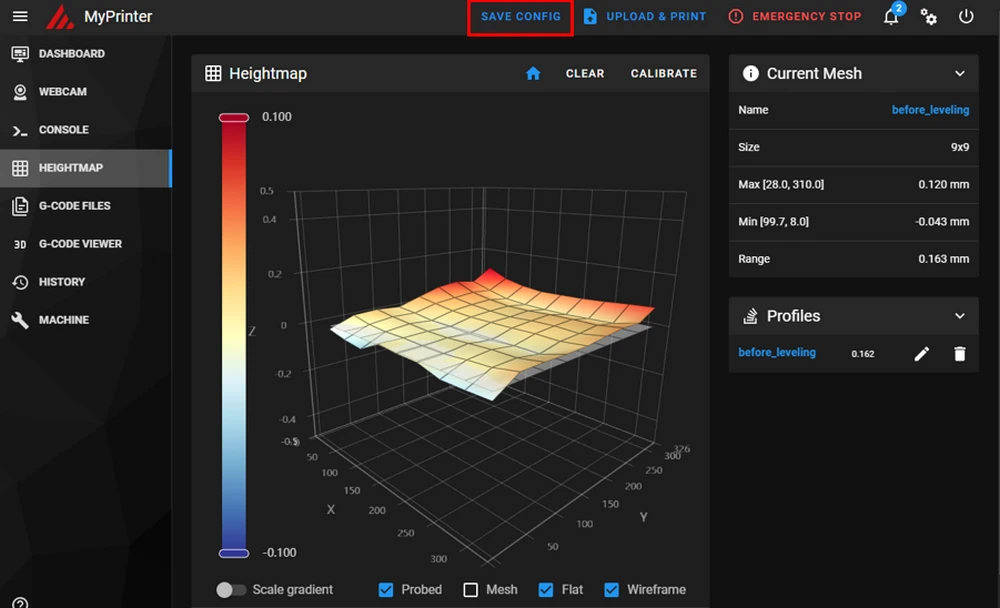
Save it:
Start the Bed Level Macro:
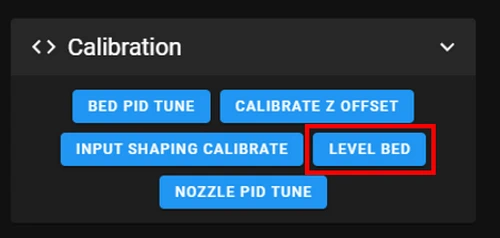
If you dont have that macro, open the CONSOLE in your Klipper interface.
Enter the following commands:
G28
SCREWS_TILT_CALCULATE
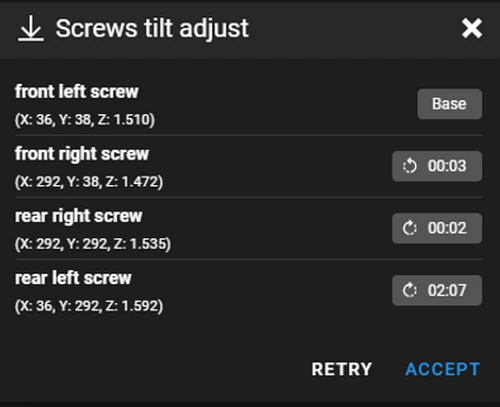
Interpret the Output
You will see output similar to this example:

Or in the Console:
rear left screw : x=36.0, y=292.0, z=1.59150 : adjust CW 02:07
Here’s what this means:
-
Screw location:
rear left screwspecifies which screw to adjust. -
Adjustment direction: See the icon or read the console
CWmeans "Clockwise",CCWmeans "Counterclockwise". -
Adjustment amount: refers to a clock and
02:07means "2 full turns and 7 minutes".
Example
- "Minutes" represent divisions on a clock face. Here is a practical example:
- 02:00 = 2 full turns
- 02:30 = 2 full turns + ½ turn (30 minutes)
- 02:15 = 2 full turns + ¼ turn (15 minutes)
- "One turn clockwise" means: One turn clockwise looking "from your screwdriver to the screw".
For detailed information, see the Klipper Bed Leveling Guide.
Adjust the Screws
For the X3 series (X-Smart 3, X-Plus 3, X-Max 3)
- Lower the bed manually to about half way down.
- Remove the printing plate.
- You will see 4 screws for the bed - they need to be adjusted.
- They are countered with a nut from the bottom side, so losen it.
- Using the instructions from the previous step, adjust each screw manually.
- Turn the screws them precisely according to the specified number of full turns and minutes.
Reattach the print bed when you finish!
For the Q1 Pro and Plus4
Using the instructions from the previous step, adjust the print bed using the knobs on the bottom side.
Turn the knobs precisely according to the specified number of full turns and minutes.
One turn clockwise means: One turn clockwise looking "upside down" to the knob.
-
Perform a Final Measurement Once all screws have been adjusted, perform another measurement to verify the bed is level.
-
Open the CONSOLE again and re-enter the commands:
G28
SCREWS_TILT_CALCULATE
- Check the new output.
Target Result: a good result is achieved when all adjustment values are below 6 minutes.
Optional: do another mesh calibration and name it "after_leveling" for a nice comparison.
By following these steps, your print bed should now be properly leveled, ensuring better and more reliable print results.