Using a Webcam
Adding a camera to your FreeDi setup enables remote monitoring, timelapses, and easier troubleshooting through visual inspection.
Info
FreeDi comes with Crowsnest pre-installed. This guide covers hardware connection and configuration. If you're using a custom OS instead of FreeDi, you'll need to install Crowsnest separately using KIAUH first.
What are we doing now?
You'll connect a USB camera to your printer and configure it for live streaming in Mainsail. The camera feed helps monitor prints remotely and is required for timelapse functionality.
Time required: ~10-15 minutes
Prerequisites
- FreeDi v2.x installed (includes Crowsnest pre-installed) OR custom OS with SSH access
- Compatible USB webcams: Logitech C270, C920, C922 (recommended and tested)
- Most UVC-compatible webcams
- Raspberry Pi Camera Modules (with ribbon cable)
Hardware Installation
Connect Your Camera
- Power off your printer completely
- Connect the USB camera to one of the available USB ports
- Mount the camera with a clear view of the print bed:
- Consider printing a camera mount from Printables or Thingiverse
- Ensure cables don't interfere with moving parts
- Position for both nozzle and bed visibility
- Power on the printer
Verify Camera Detection
You can check if your camera is detected with 2 methods:
Verify inside Mainsail:
- Go to the MACHINE tab:
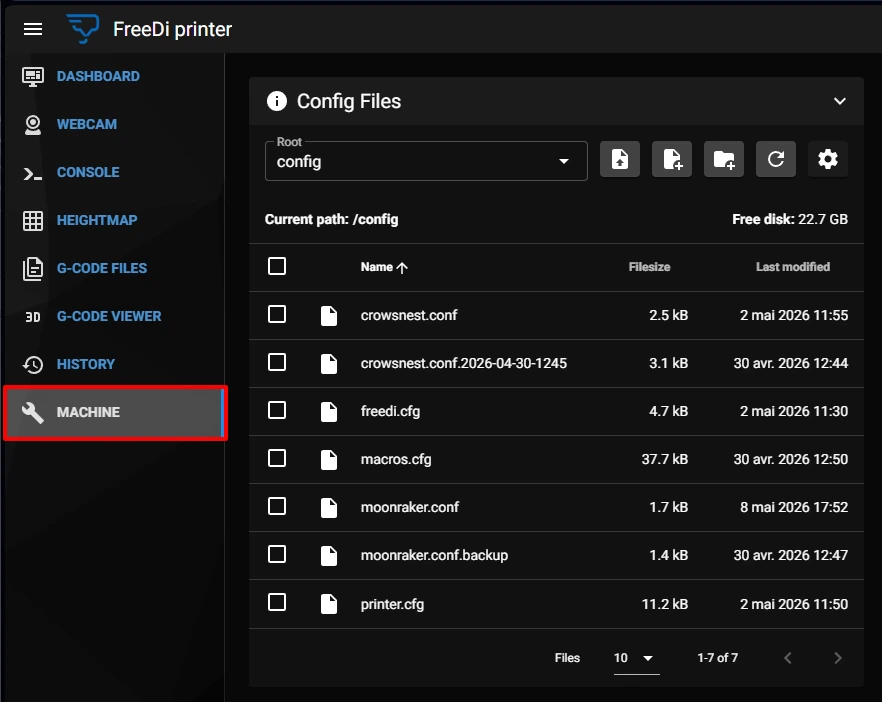
- Open any .cfg file, you'll see a 'DEVICES` button at the top:

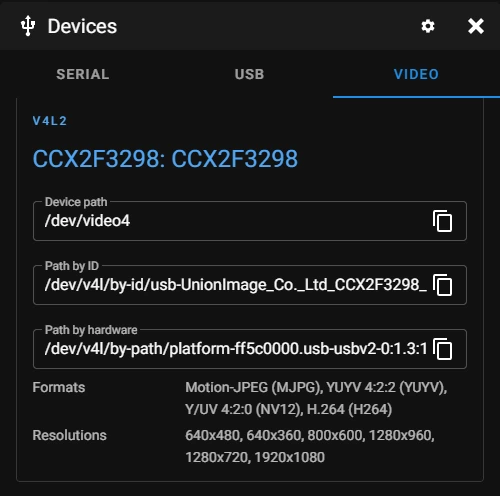
- When clicking on it, you'll see the Devices menu. Select the VIDEO tab:
-
You can copy either the Device path or Path by ID with the little icon on the side.
-
Then open your
crowsnest.conffile and replace thedevice:line content by pasting what you copied previously:


-
TIP: don't go crazy with the resolution and max_fps as these can impact your MCU performance!
-
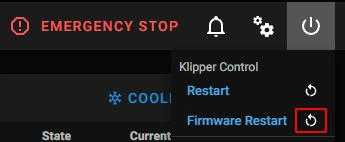
Now restart your firmware with the
Firmware Restartbutton to apply the changes:
Verify via SSH:
Check if your camera is detected via SSH by running:
ls /dev/v4l/by-id/
You should see an entry like usb-Sunplus_IT_Co_FHD_Camera-video-index0 (or similar depending on your camera model).
Installing Crowsnest with KIAUH (Custom OS Only)
Info
FreeDi image users can skip this section - Crowsnest is already pre-installed. This is only for users running custom OS installations.
Using KIAUH to install Crowsnest:
First, start KIAUH (Klipper Installation And Update Helper).
-
Open the SSH terminal and connect to your printer
-
Run the following command to open KIAUH:
cd ~ && ./kiauh/kiauh.sh
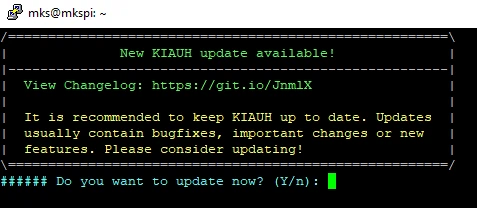
- (Optional) In KIAUH you can update if you are asked to by entering "y" and then redo step 2:
- Enter "1" for installing and enter the user password:
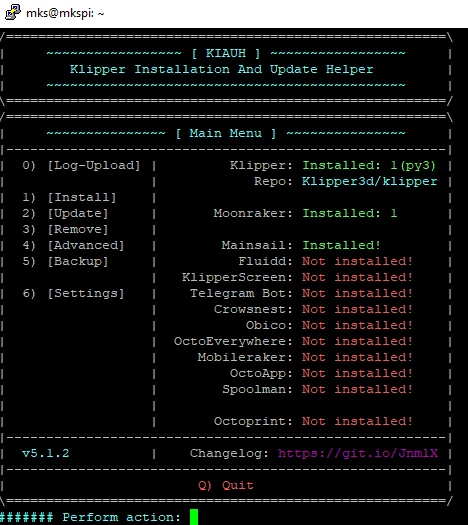
- Enter "14" to install crowsnest:
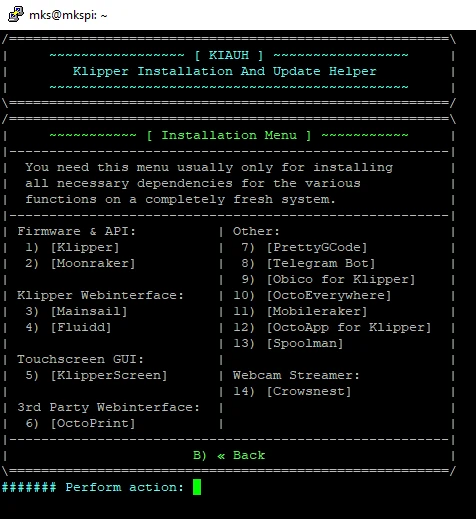
This will automatically download and install Crowsnest, which is responsible for managing the camera stream.
Configure Crowsnest
Now that Crowsnest is installed (or pre-installed with FreeDi), you'll need to configure it to use your camera.
- Go to Mainsail and open the
crowsnest.confin your MACHINE section - Edit the configuration file by adding the camera settings:
- Replace device with the correct path of your camera (e.g., /dev/v4l/by-id/usb-Sunplus_IT_Co_FHD_Camera-video-index0)
- Adjust the resolution and max_fps values to match your camera's capabilities
- A little try & error will help finding the best resolution and aspect ratio for your taste
Here's an example configuration:
[crowsnest]
log_path: /home/mks/printer_data/logs/crowsnest.log
log_level: verbose                      # Valid Options are quiet/verbose/debug
delete_log: true                        # Deletes log on every restart, if set to true
no_proxy: false                         # Set to true if no proxy is required

[cam 1]
mode: ustreamer                         # ustreamer provides mjpg and snapshots. (Works with all devices)
                                        # camera-streamer is for RPi + Raspi OS based cameras only.
enable_rtsp: false                      # Enable rtsp server (only if camera-streamer is used)
rtsp_port: 8554                         # Port for RTSP streaming
port: 8080                              # HTTP/MJPG stream/snapshot port

# Example for a Sunplus webcam:
device: /dev/v4l/by-id/usb-Sunplus_IT_Co_FHD_Camera-video-index0
resolution: 800x600
max_fps: 5
Tip
- For the best results, I recommend checking the crowsnest.log for the supported resolutions and testing each one.
- You want to find the lowest resolution, that has the best field of view (see the most) and with the best quality.
- Lower resolution is preferred to decrease the USB load.
- Click save and restart on the top
Add Camera to Mainsail (Optional)
If you setup everything correctly and can't see the camera picture, you may need to manually add it to Mainsail.
- Open the Mainsail settings:

- Scroll down to WEBCAMS and click on ADD WEBCAM:
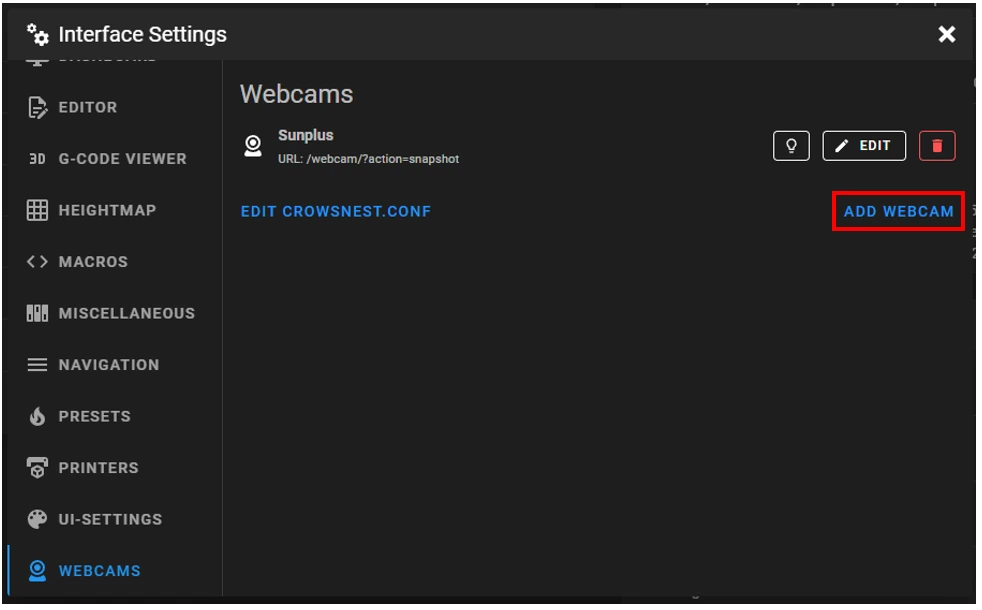
- use the default options.
Multiple Cameras
To add a second camera:
- Edit
crowsnest.confin Mainsail - Duplicate the
[cam 1]section - Rename to
[cam 2]and change: port: 8081(each camera needs a unique port)device:to your second camera's device path- Save and restart Crowsnest
- Add the second camera in Mainsail settings using port 8081
Troubleshooting
No video stream appears:
-
Check if the camera is detected via SSH with:
ls /dev/v4l/by-id/* -
Verify
devicepath incrowsnest.confmatches detected device -
Check if Crowsnest service is running: On Mainsail on the top right "Power" Menu -> under "Services"
-
Try a different USB port
Poor video quality or lag:
-
Lower resolution in
crowsnest.conf(try 640x480 or 800x600) -
Reduce max_fps to 5 or 10
-
Check network connection strength (Wi-Fi vs. Ethernet)
Camera worked, then stopped after reboot:
- Device path may have changed (especially with multiple USB devices)
- Run this to find the current device:
ls /dev/v4l/by-id/* - Update
crowsnest.confif needed
Permission errors:
- Camera device needs proper permissions
- Run via SSH:
sudo usermod -a -G video $USER - Reboot after changing permissions
Crowsnest service not found:
- Follow the "Installing Crowsnest with KIAUH" section above
- FreeDi users: Crowsnest should be pre-installed; check Machine → System
Timelapse
Now that your camera is set up, you can enable timelapses by following the Timelapse guide to install and configure timelapse recording.