Requirements
This section provides the necessary hardware, software, and information to convert your stock QIDI printer into a FreeDi printer.
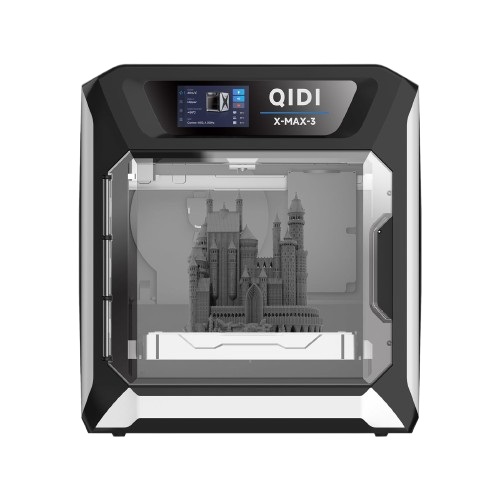
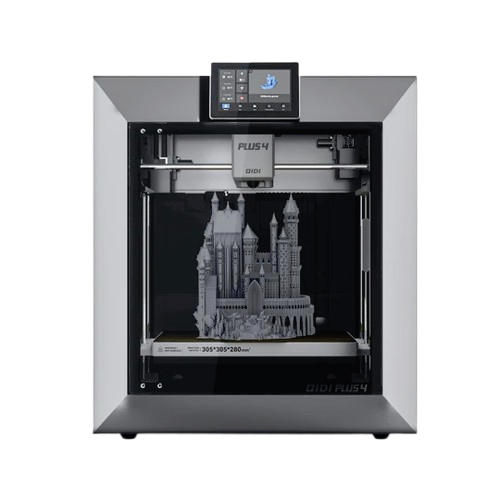
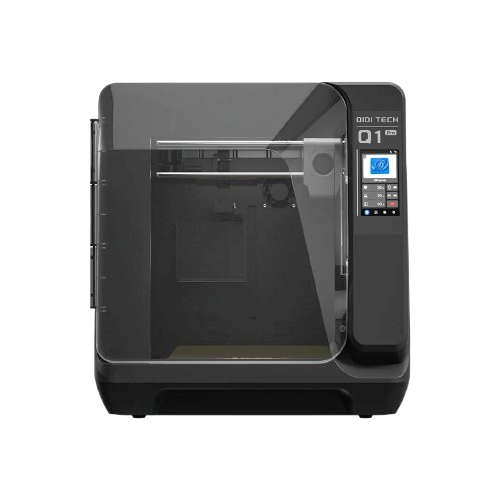
Supported printers:


Software Requirements
Image Writing Tool
Required to write images to USB/EMMC.
Recommended: Win32DiskImager or balenaEtcher.
Useful Software
SSH Terminal
To connect to your printer for the installation process.
Recommendation: PuTTY for Windows users.
SFTP Client
Handy or necessary depending on your setup.
Recommendation: WinSCP for Windows users.
Filezilla is another option for Windows.
All In One
Another option is Mobaxterm which includes both SSH & SFTP in the same interface.
Hardware Requirements
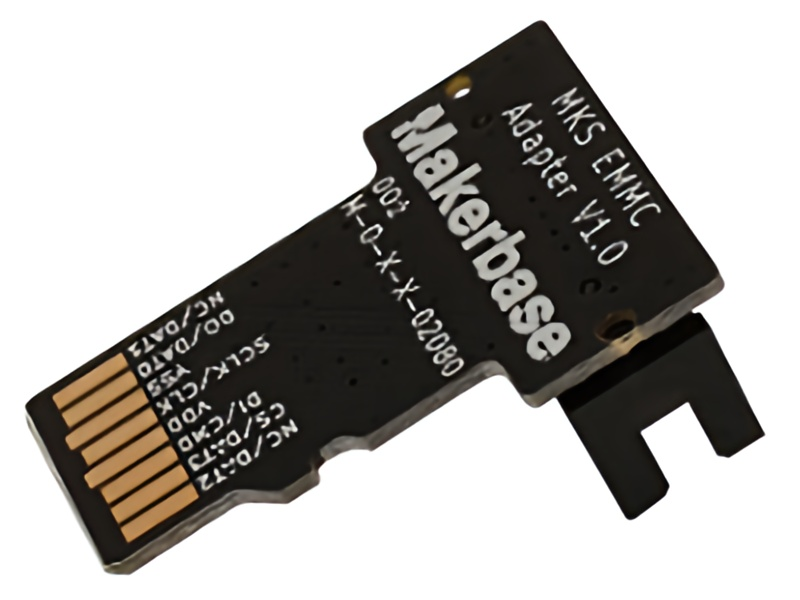
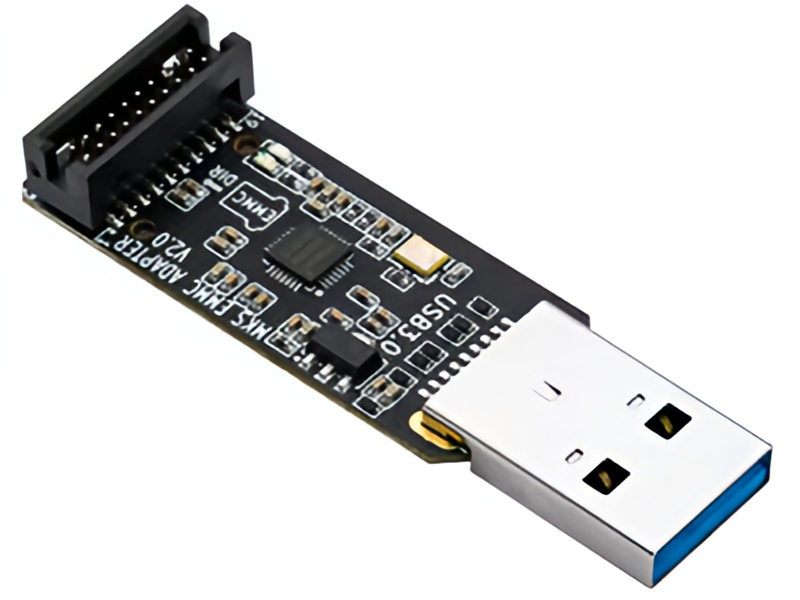
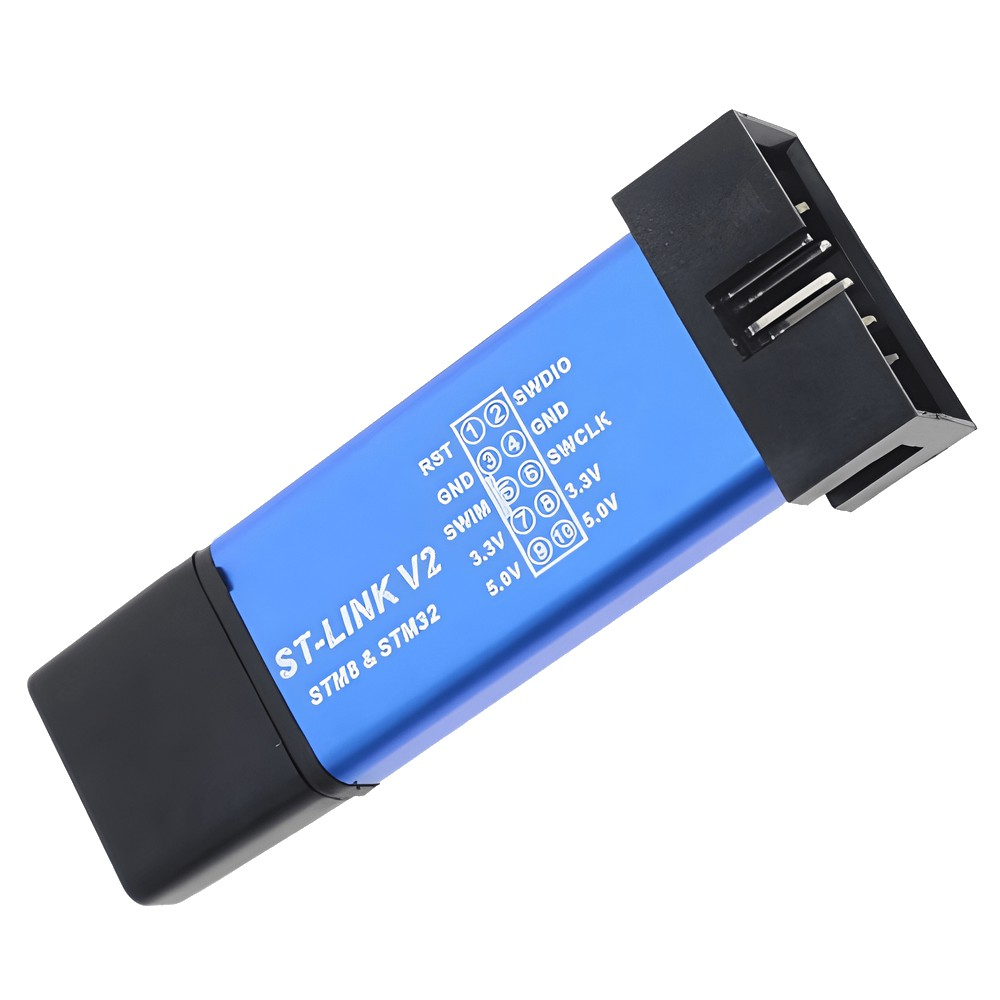
1. EMMC Reader to flash the OS
You have several options: Makerbase MKS EMMC Adapter v1.0 or MKS EMMC-ADAPTER V2 USB 3.0 Reader.
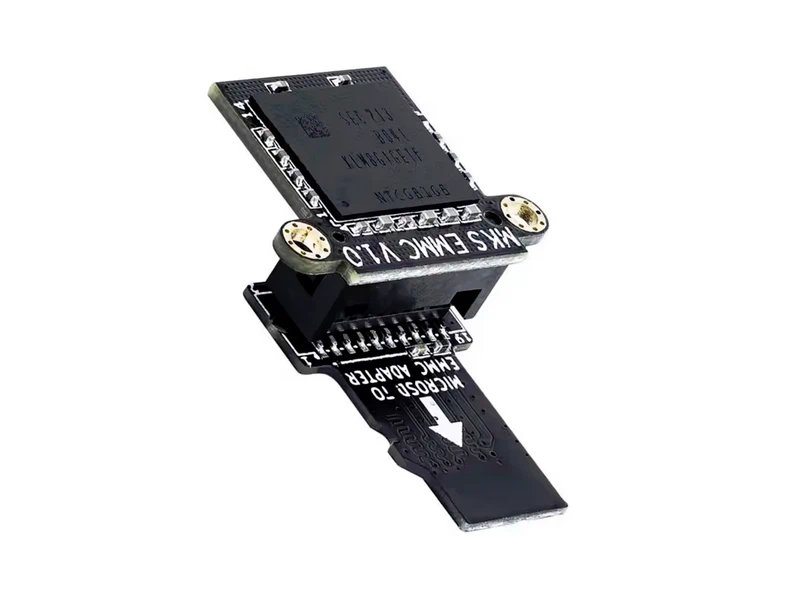
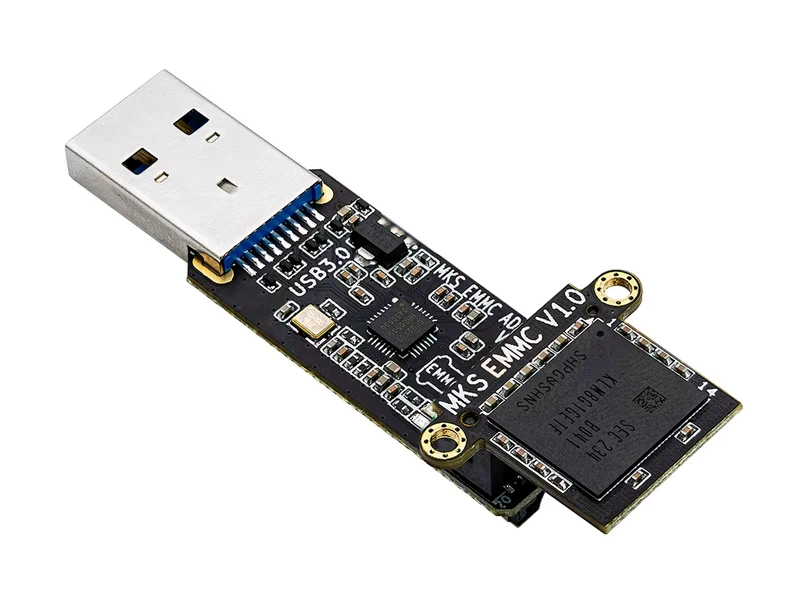
2. EMMC storage for the system (stock or 32gb)
You can use the stock EMMC memory but for X3 series printers you will be limited to install addons or add your Gcode files with its 8gb capacity only. That's not a problem, as FreeDi is optimized to use the minimum storage space as possible. But it's highly recommended to invest in a 32gb EMMC from Makerbase. Kits are available including the EMMC + reader.

Unter review: Use a standard USB flash drive
Warning
Attention! This is currently under review, as its not working for every user, see FreeDi not booting from USB stick. While slower than an EMMC, it is a simpler option for getting your hands on this project because you might have a spare one already.
Recommendation: For long-term use, an EMMC flash drive is advised.
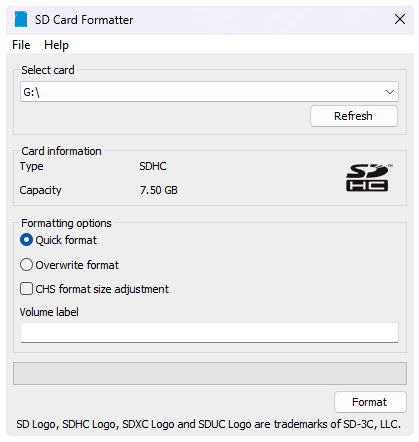
3. Formatted Micro SD Card
SD card recommendations:
You will need a microSD card to flash the mainboard MCU. Here are the recommendations:
-
Format must be FAT32
-
Storage: Minimum 16MB; maximum 32GB.
Note : Larger microSD cards may work if you create a partition not exceeding 32GB.
Attention: If your microSD card was already used or has a hidden partition, you must format it entirely. On Windows, I recommend formatting using SD Card Formatter.
Using SD Card Formatter, just do a Quick format, that's enough, but be careful to choose the right drive before proceeding!
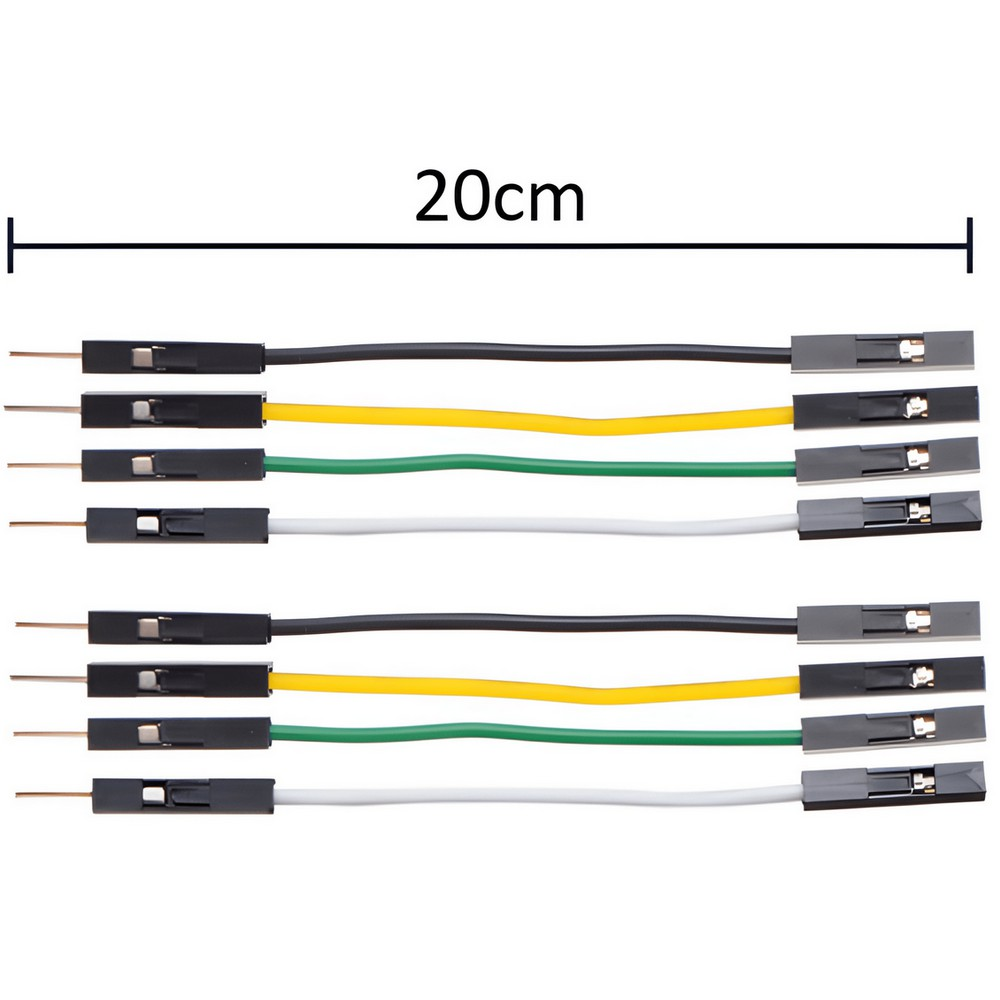
Q1 Pro additional required hardware
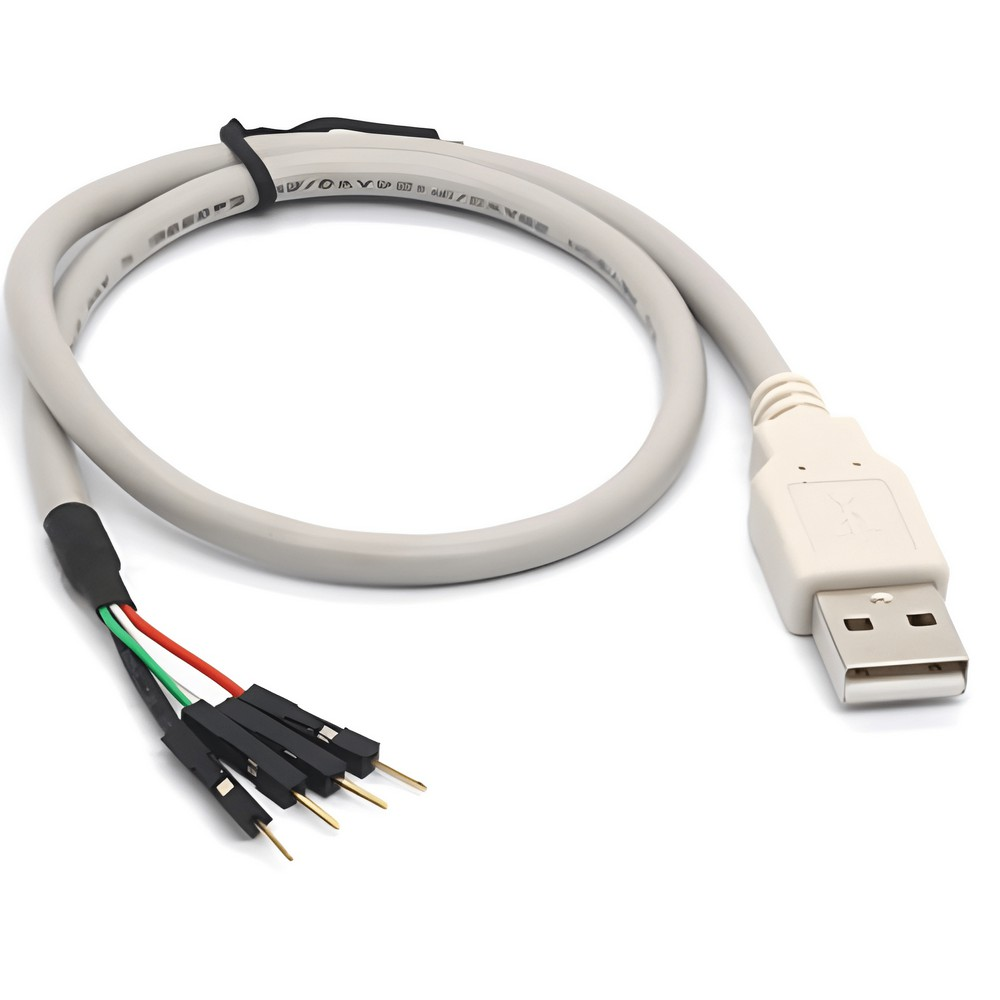
Warning
IMPORTANT: Please note, that you need a basic USB breakout cable. Do NOT use a USB <-> UART converter/cable!
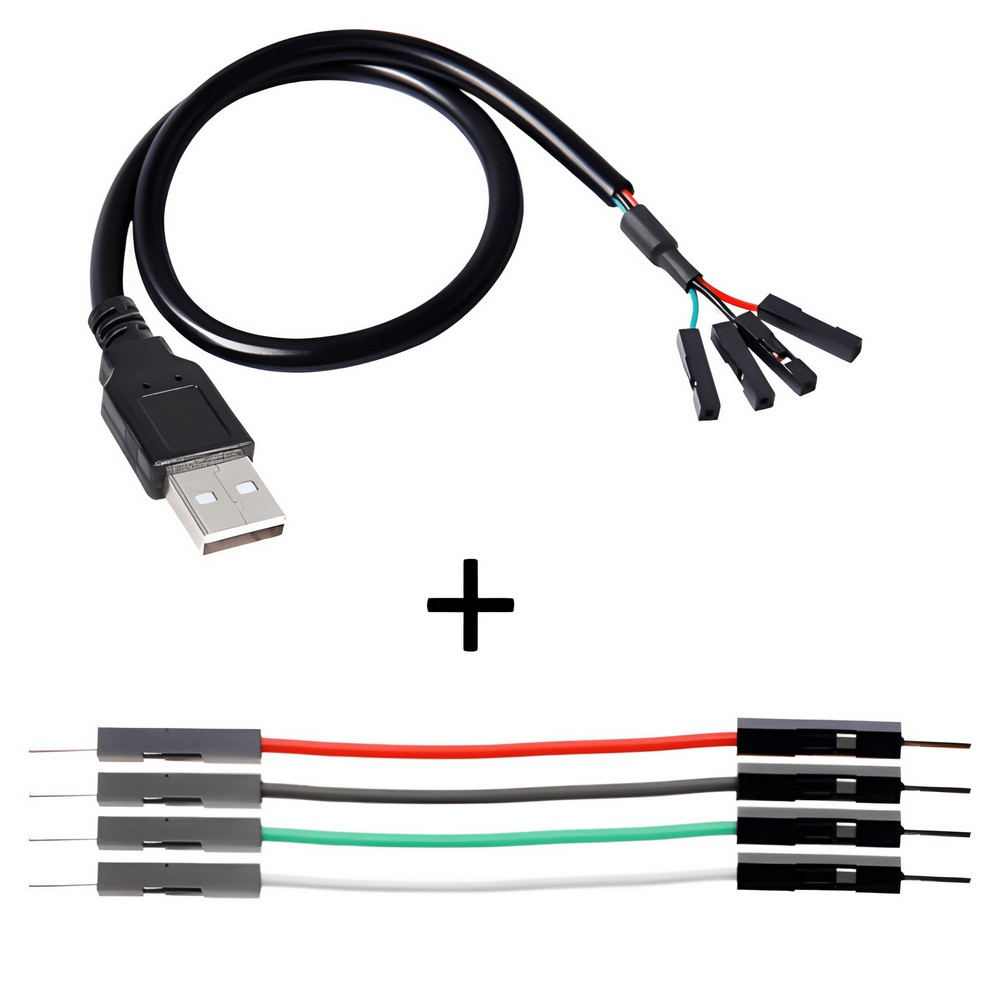
Plus 4 required additional hardware
Required Informations for the next steps :
- Printer IP Address: You'll need the IP address of your printer to connect via SSH.
- Default Login Credentials are:
- User: mks
- Password: makerbase